|
This post contains affiliate links and I will be compensated if you make a purchase after clicking on my links. Thanks for your support!

There are those who think canning peaches is time consuming and messy. I am here to show you that doesn't have to be true. I love to can! And peaches are so delicious when you can them yourself. Home canned peaches are a staple in my pantry. I found a fairly good buy on peaches the other day, so I bought a bunch. I thought I would show you my canning process.
To begin with, you need some basic canning supplies:

Now you need to find a really good price on peaches, or have a peach tree or have someone give you peaches off of their tree. I like to can freestone peaches, because that means the pit comes out really easily. If you are canning cling, that is okay, but I would do slices because it is easier to slice them off of the pit that way.
But, first, you have to peel them! The peeling process is much easier that you may think!
Here is my trick: When you start canning, you want to start the water boiling in the canner right away. It is a lot of water and it takes it awhile to get to boiling. And, before you ever start to put the jars in, there are other things that you can use the boiling water for. So, here is the step by step after you start the water on the stove:
All of this time, the water in the canner will still be heating up to boiling hot. When I have peeled all of the peaches, I set my empty jars on the rack to sterilize and heat them. This prevents breakage! In all of the years that I have been canning, I have only had one jar break.

While the jars are heating, I make the simple syrup for the peaches. The ratio for the syrup is 1 cup sugar to 2 cups of water. Plus, 2 tsp. ascorbic acid per 2 cups of water. I made my recipe with 6 c. water and 3 c. sugar and 6 tsp. ascorbic acid. Heat it all in a sauce pan and stir until the sugar is dissolved. Leave on the heat until you are ready to use it.
Now, your jars should be ready and you are ready to fill them!
This step is very important! Use a damp paper towel and wipe off the rim of your jars before you put on the lid and ring. Any residue left on the jar rim could keep your jars from sealing.
Now, put the lid on the canner and wait for the water to start to boil again before you start timing the canning process. For quarts, they must boil for 30 min. For pints, 25. So, once you hear the water boiling a good rolling boil, set the timer!
When the timer goes off, lift the jars out with the canning tongs! I usually lift the rack first, but that can be difficult, so you can just lift them with the tongs without lifting the rack if you want. There will be more water dripping if you do, just to warn you. Now, wait to see if all of your jars seal! Let them do that on their own, no fair pushing the middle of the lid. 
Here they are! All sealed!

Canned peaches are so pretty!
I was going to make a printable label for the tops of the lids, but I didn't get to it. Before you put them away, wipe your jars off well, and then write with a Sharpie on the lids what you have in the jar and the date you canned it!
For a reference, when I canned these peaches, my 8 jars held about 24 peaches. So, that is around 3 peaches per jar. Even though I did some halved and some sliced, it came out to be about the same amount of peaches per jar.
The best part about canning is the satisfaction of seeing those jars all lined up in your pantry! You really feel like you've accomplished something! What do you like to can? I hope that you will give peaches a try!
Here are some past canning posts you might enjoy:
Shop this post!
3 Comments

It is so satisfying to can and see the end result! I love it!
This post contains affiliate links and I will be compensated if you make a purchase after clicking on my links.
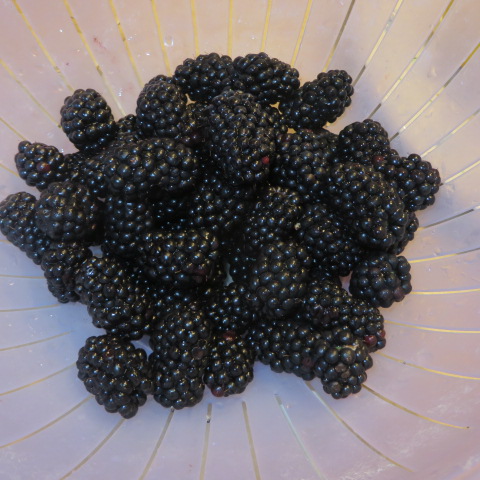
Blackberries and strawberries have been alternately on sale the past few weeks, so of course I have been canning them because I love to can and I love blackberries and strawberries! I usually just eat the blackberries, or make them into Blackberry-Lemon Marmalade, or turn them into cake, or Blackberry Lemon Bars. This time I decided to can some to keep on hand.

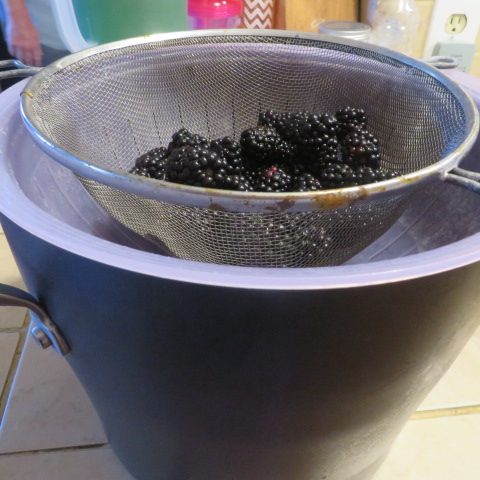
Blackberries!
Canning Blackberries is super easy because there is no peeling or coring. Here is how you do it in a nutshell.
With the strawberries, I made a ton of Strawberry Jam. I gave you jam making tips on this post.

If some of my labels look crooked, it is because I didn't want to waste my trial prints! Yours should be more lined up. (I hope!)
One of the things that I have mentioned before is that instead of putting labels on the jars themselves, I like to put them on the lids that will be discarded anyway. That way you don't have to spend time peeling them off of the jars when the jam is all eaten and you want to use the jar again. I found some printable labels at Dollar Tree! They have round ones in the store, as well as square shipping labels. You can't beat the price on these, for just a dollar! I designed some simple labels to put on my jars and I decided to share them with you! This is a small way for me to say "Thank You!" for all of your support on our blog! This week we achieved over 31,000 views per month and it makes us so happy to think that the things we talk about have value to you.
To print the labels, click on the button to get the pdf file. Then click print. Make sure you click the "fit to page" option. There are some blackberry and many Strawberry Jam labels on one page. You may only need one or the other, but you can always cut them off and save the ones you don't use. These are designed to print on the Polaroid Round Adhesive Labels. You can also find them on Amazon here. jam labels jam labels 

I have a lot of jam canned now! I was using up a lot of styles of rings, lids and jam jars!

The little ones come in handy to give as quick gifts! It makes it a cuter gift with the label on it.
We have many more fun ideas to write about. I am having so much fun working on this blog with my girls. Thanks for your support. Keep coming back to see what else is in store!
If my labels are too simple, here is a link to some really sweet choices on Etsy! They aren't free, but if you want something a little fancier, there are some really cute things there.
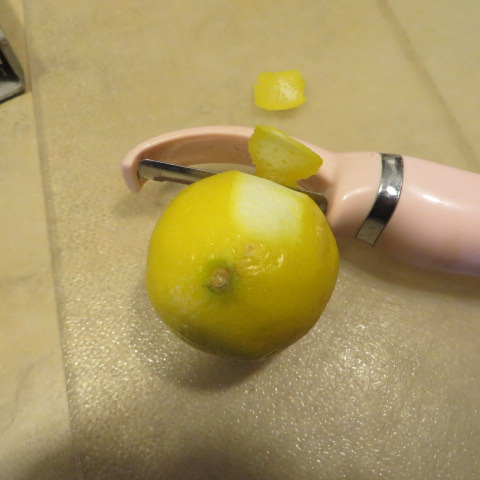
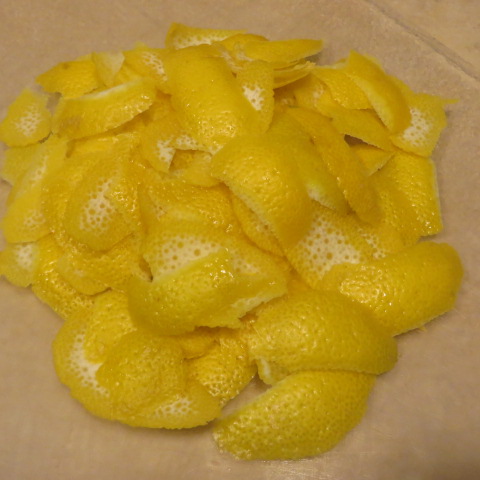
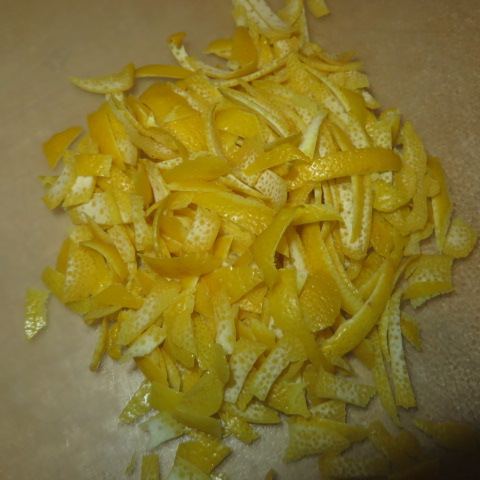
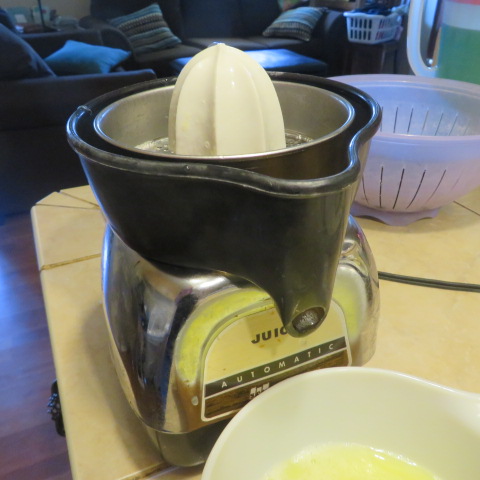
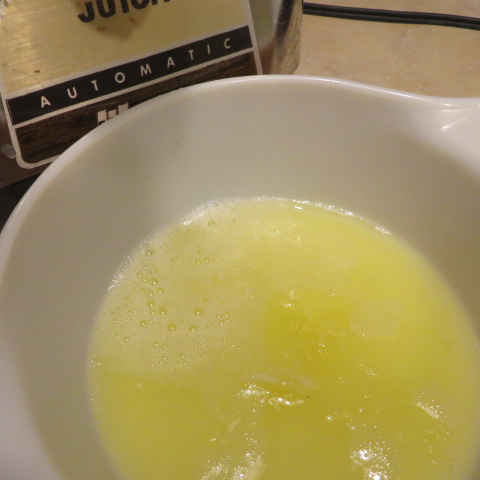
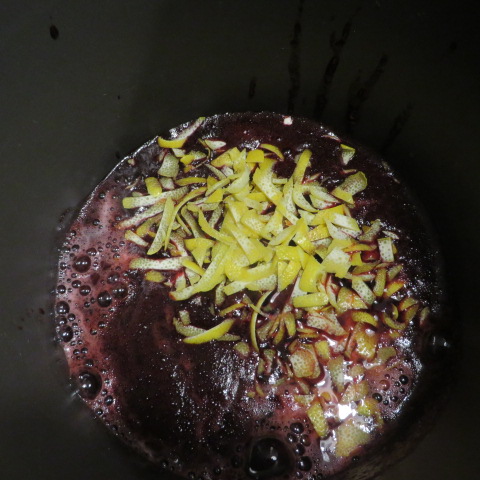
This post contains affiliate links. I will be compensated for purchases made through those links at no additional cost to you. All views expressed are my own. Thank you for your support!  I am really slow getting my blogging done. All of the wedding projects are keeping me busy. But, when I went to our local Fry's grocery store yesterday and saw blackberries on sale for .97, I couldn't resist! I don't know why blackberries are so expensive because they grow as weeds in most parts of the country. Something else that grows in abundance here in AZ is lemons. One year, some friends who have a lemon tree gave us an abundance of them and I had also found blackberries at a good price. Desperate to find a great way to use lemons, besides lemonade and juicing them to freeze, I invented this recipe for Blackberry-Lemon Marmalade! You already know I love to can and to make jam from these posts. This recipe is a little more work, but it is worth it because the result is so delicious! Here is how you start:  Just look at those colors together! 6 lemons and a dry pint of blackberries. (I use two 6 oz. containers of blackberries.) Click on these images for directions. Next, add 3 cups of sugar all at once. Stir in and bring to a boil and boil for 10 more minutes. It will be very runny, but will jell as it cools. But, if it doesn't, it makes delicious syrup anyway! Ladle into your jars, flip upside down to seal. They look so pretty!  I couldn't wait until it was totally set to try it on my bagel. When there is a little bit left in the pan I always put a partial jar in the fridge to eat right away. You won't believe how delicious this is! So, here is the entire recipe.  Click the recipe for the printable copy. I hope you give this recipe a try and love it as much as I do! I just checked and all of my jars are sealed! I have more blackberries left! Hmm, what else can I make?
We have had so much going on with our family and extended family in the last month, that my blog has taken a backseat. I ended up making another batch of dipped chocolates, as I demonstrated in my last post, but this time I added the Oreo ones and a peanut butter flavor. Our Easter was great and especially poignant because members of our family have been lost to us recently. We know that because of Jesus Christ's resurrection, we will see them again.
One other thing that I wanted to talk about this week is strawberry jam! I did manage to get a batch of it made when strawberries were a good price. I love making jam. It gives me such a feeling of satisfaction and accomplishment to see my jars sitting there all sealed and ready to go when I am finished. 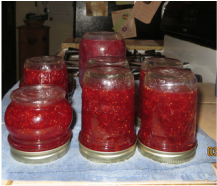
Those are my jars upside down, sealing.
I know that a lot of people already make jam. So I thought that I would just give a few tips that I have learned over the years that I have been making jam. * First of all, I have started chopping up or mashing my fruit in my food processor. I used to cut it up and then mash it with a potato masher. But, the food processor is so much faster. You just have to be careful to pulse it and only do that until it is in nice sized chunks because you want to have bits of fruit in your jam. * Remember that if you want to have jam and not a fruit syrup, you put in the fruit, butter and pectin first and get it all boiling, then add the sugar all at once and bring to a boil again. I have made this mistake so many times, but I finally got it into my braid that this is why over the years we have had ice cream toppings instead of jam on occasion. 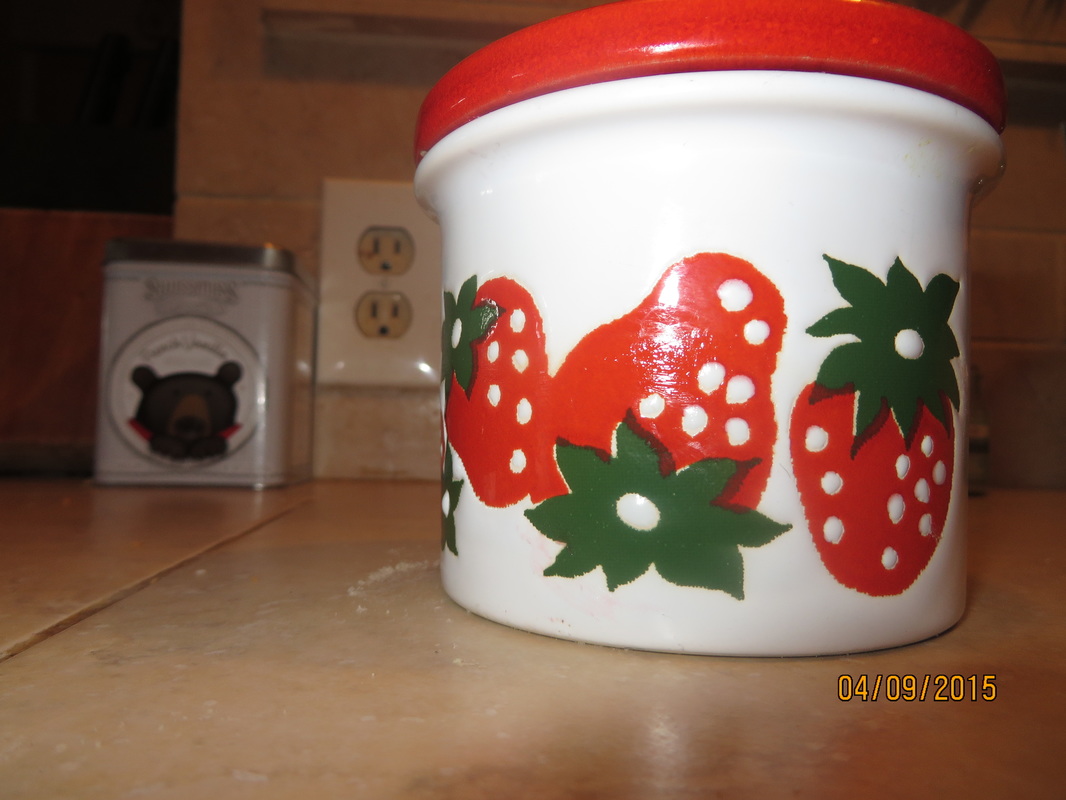
It even has a little place in the lid for a spoon.
* Be sure to wipe the rim of the jar before filling it and use new lids each time. Then, I flip the jars upside down for at least 5 minutes so they will seal, and this also helps disperse the fruit throughout the jar. You can water-bath seal them, but the directions on the pectin say that the flipping method is safe and I have never had any jam go bad on me.
Really, jam keeps for a long time. We try to rotate it by age so we use the older jars first, but we have found some that we have overlooked that that has been a couple of years old, and it was perfectly fine. Sometimes it may discolor a little, but it tastes great! 
This is how the fruit looks after the food processor and here it is in the pot with the pectin, just starting the process.
* After you add the sugar and boil for the reccomended amount of time, take the time to stir it and skim off the foam before you bottle it. The recipe that I use is the one in the pectin box, and it says to stir and skim for 5 minutes. I always worry that the jam will cool too much to seal if I take that long, but I do stir and skim for a couple of minutes. Then I jar it. The reason this is important is because you want the fruit chunks to be dispersed throughout the jar and not all floating on the top of the jar. The people who will eat the jam will get lots of fruit on top, and then virtually jelly in the lower part of the jar.
When you skim, use a metal spoon and save the foam. I actually put my foam and any leftover jam that won't fill a jar into the crock in the picture above that I bought in Germany from the Waechtersbach Factory in Germany back in the '80's.. Then I put it in the fridge and we eat that jam first!
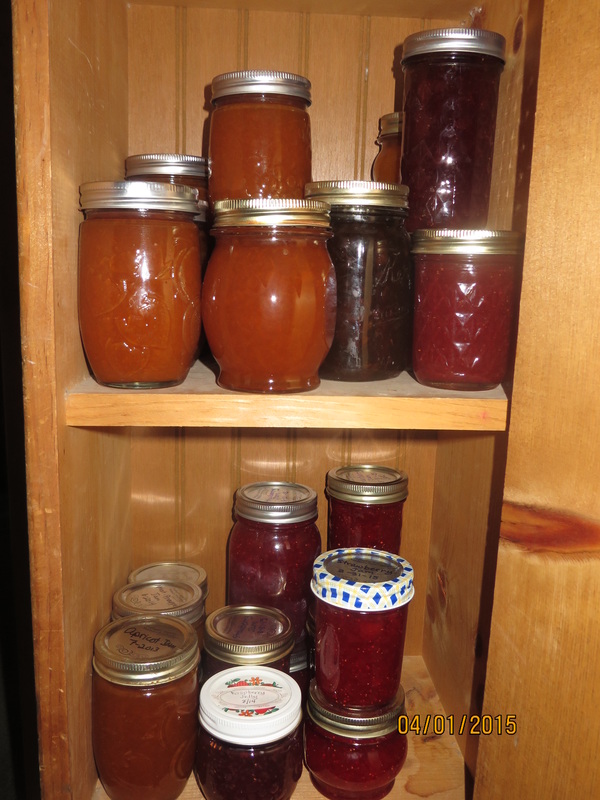
That other picture is my cute little jelly cupboard where we keep our jam. It has been much more full than this in the past, so I need to get busy and fill it up!
Oh! One last tip. I used to put cute lables on the jars, but they were a pain to take off after the jar was empty. (Always save and reuse your jars, they can be expensive.) So, now I use a sharpie and write the kind of jam and the date on the lid, because it will get thrown away anyway. (Do not reuse your lids!) If you really want something cute for giving away jars of jam, get the round kind that can fit on top of the lid. I was going to put a delicious looking picture here of jam on my roll, but I ate it too fast! Hope these tips help! |
Creators of Hot Cocoa Bombs! (copyrighted)

Author
Helen Reynolds: Mother of six children , grandmother to eleven! I love to cook, craft and create things and I especially love doing that with my family, So, when my lawyer daughter, Lindsey, my artist daughter, Madalynn, and I came up with the idea of Hot Cocoa Bombs, this blog was born. Then, one more daughter, with her technical and science skills, plus creativity has joined in to round us out! Read more about us here! 
Click this link and visit 3WinksDesignShop on Etsy. Find our Hot Cocoa Bomb Idea Book, our For the Love of PIe e-book and more of our creations!

Amazon Gift Cards are the Perfect Gift!
    Archives
June 2024
|


 RSS Feed