|
This post contains affiliate links. I will be compensated for purchases made through those links at no additional cost to you. Views expressed are my own. Thank you for your support!

On the third day of Christmas my true love gave to me: Three French Hens, and so I made a pot of coq au vin!
Here is your language lesson for the day. Coq is actually the French word for rooster. Coq au vin directly translates as "rooster in wine." But it is hard to find a rooster to cook these days, so really any chicken will do. However, for our 12 days of Christmas recipes, the third day calls for Three French Hens, so I knew we would have to make a French dish, and Coq au Vin is just perfect for the season! It is warm and comforting. You serve this Instant Pot Coq au Vin atop a bed of mashed potatoes. Does anything sound more wonderful on a cold winter day? When I was tasked with doing a coq au vin recipe I knew I wanted to use my Instant Pot! I got it as a gift from my husband for my birthday, and I love it! Not only does everything cook faster in an Instant Pot, but it really cuts down on dishes! For this Instant Pot Coq au Vin you use the saute function and the pressure cook function. 
A word on the wine used. We are not wine drinkers in this house. Or alcohol drinkers at all. Red wine is a central feature of coq au vin (remember vin= wine) but I didn't want to buy an expensive bottle of wine for one dish. I used Holland House Red cooking wine which is much less expensive. You could also use grape juice if you really don't want to use alcohol at all (the alcohol cooks out, but you do you. No judgement here!) then grape juice would work, but it is probably a little sweeter so you would likely want to adjust your grape juice/chicken broth ratio so your coq au vin sauce won't be too sweet.
I think you are really going to enjoy this Instant Pot Coq au Vin. We devoured it! Merry 3rd day of Christmas! 
0 Comments
This post contains affiliate links. I will be compensated for purchases made through those links at no additional cost to you. All views expressed are my own. Thanks for your support! 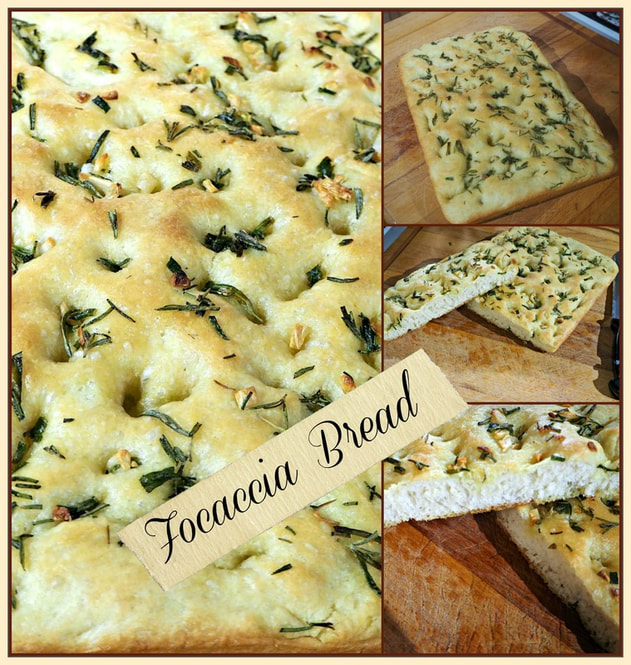 My son baked some focaccia Bread, and then his SIL did as well. The pictures looked so delicious. I had never made focaccia bread myself and decided to give it a try. I have a number of herbs that I have been growing and this was the perfect opportunity to use them in a new way. Focaccia Bread is very easy to make and is a lot of fun! You really get to put your hands in the dough. The outcome is so delicious because the olive oil is definitely the star of the show. In addition, there are so many topping choices that a variety of flavors are possible if you are making more than one loaf. Wouldn’t that be nice on a luncheon table? Many people use focaccia for sandwiches or for pizza, and of course, just to eat all by itself. As I mentioned, focaccia bread is very easy to make. My first attempt came out so good! I was nervous because there was so much olive oil! But, when it came out of the oven that was all incorporated into a bread that was crispy on the outside and soft on the inside. The olive oil and the herbs with that sprinkle of salt were an explosion of flavor in my mouth. 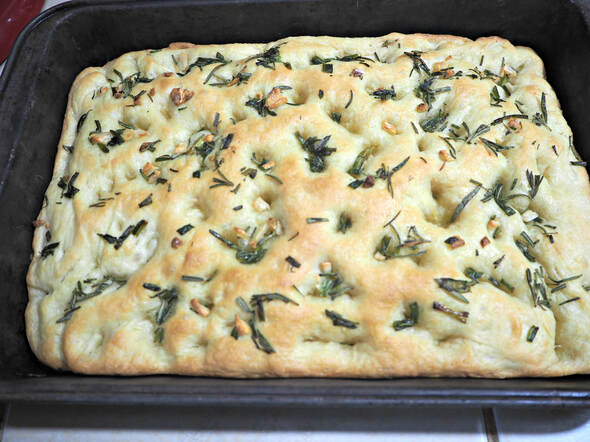 One tip to get the most flavor from the herbs is to make sure that they are coated with the olive oil. I watched some Italian You Tubers who gave that suggestion. I guess the oil helps to bring out the flavor and convey it to the bread dough. So, you will notice in the recipe that I soaked my herbs in the olive oil that I used in the bread dough and also drizzled over the bread. Another tip is about the kneading technique for this bread. Not everyone does this method, but a number of bakers do and I decided to try it. It is the stretching and pulling method. I like it because the dough is pretty sticky and needs to be in order to get the texture that you want in focaccia bread. With the stretch and pull method of kneading, you are elongating the gluten without adding too much flour to the mix as you would with a regular kneading method. Here is how you do it:

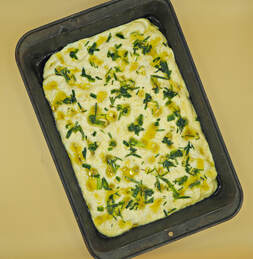
My final tip pertains to dimpling the top of the bread. Focaccia is supposed to have lots of lumps, bumps and crannies where the oil and toppings can gather. Adding the dimples also keeps the bread from rising too quickly. Focaccia is a flat bread and this is a way of keeping it that way! Putting water on your fingers helps them not to stick in the dough. Then, use those fingers to push into the dough to form the dimples. It is the fun part of making this bread! Don’t be afraid to push in until you feel the bottom of the pan.
My recipe is a conglomeration of various recipes and videos that I watched as I tried to glean information about making focaccia. Some of the videos weren’t even in English! But, my main source was probably from Immaculate Bites who also gave me the instruction to infuse the oil with the herb flavor, although she did it differently than I did. You may want to go to her site to see how she did it. She used her machine to do the kneading and didn’t do the stretching and pulling method, so you can choose to do it whichever way you prefer. Focaccia seems to be a hands on bread though. Many people mixed all of it by hand from start to finish! But, here is the recipe that I ended up adapting to my preferences. I hope you enjoy it! One last tip! Focaccia Bread tastes the very best when it is still warm on the first day it is made, so have some friends over or get all of your kids to the table and eat it all up! You can warm up the leftovers in the microwave, but I still think the first moments after it cools slightly out of the oven is the best time to gobble it down! Other Bread Recipes you may enjoy! 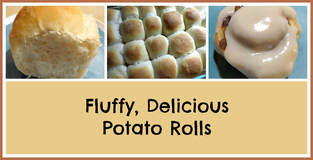 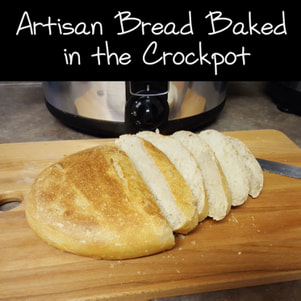 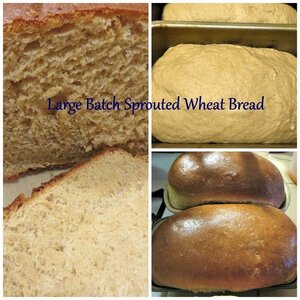
This post contains affiliate links. If you make a purchase after clicking them, we will be compensated, but there is no additional cost to you. All opinions expressed are our own. Thank you for your support.
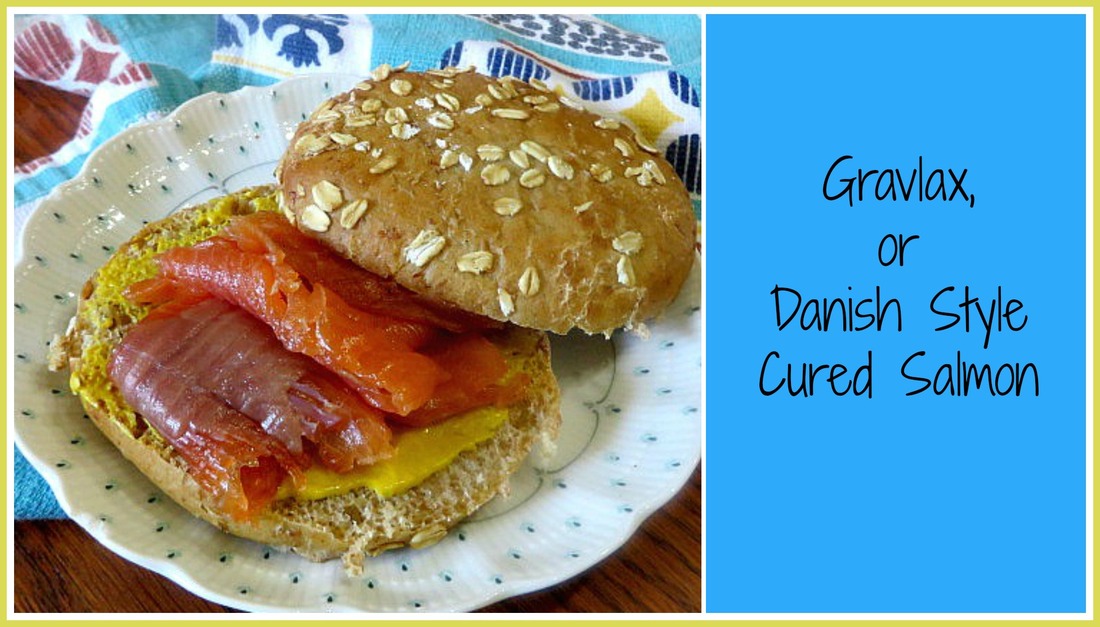
There are 2 things about this recipe that are perfect for me! First, I have been trying to learn more about Danish cooking. Second, I love salmon!
In my search for Danish recipes, I came across this website, International Cuisine. Of all the recipes that I found to make cured salmon, this one was by far the most simple and it worked fantastically! So, I am referring you to that website for the recipe and just sharing a bit about what I learned as I made Gravlax, or Cured Salmon for the first time. 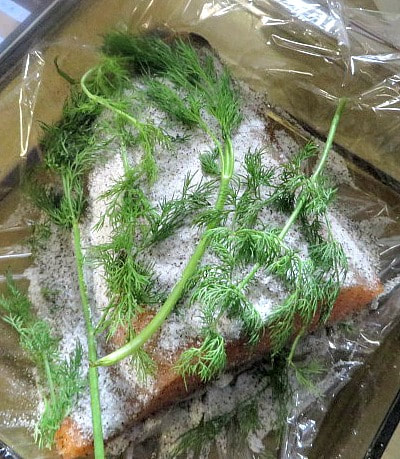
I lined a glass baking dish with the plastic wrap that I was going to used to wrap the salmon, then I placed the salmon skin side down on it. Next, I rubbed on the salt and sugar curing mixture and then placed on some fresh dill sprigs. Now, most of the other recipes I had read also used a bit of wine or cider vinegar or mustard in their recipes. This recipe doesn't call for any of that, so it made me nervous. So, I poured about 1/2 a cup of cider vinegar around the edge of the salmon. I don't know if it did anything. I couldn't taste it later on, so you don't have to use it. After I had done it I worried that I shouldn't have, but everything came out great in the end.
Finally, wrap the plastic wrap tightly around your salmon and put the whole thing into the refrigerator for 3 DAYS! That made me really nervous because I didn't want it to go bad. But, all of the recipes required at least 3 days to cure the fish, so I crossed my fingers and did it. I wondered if I would be brave enough to eat it when it finally was all done. 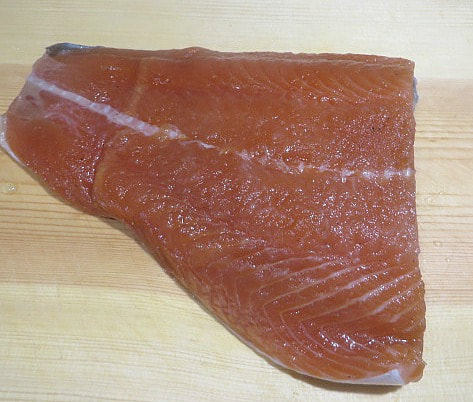
After 3 days, I pulled the salmon out of the refrigerator. There was liquid in the pan that leaks out during the curing process. I drained that off, removed the dill and threw that away and rinsed off all of the salt and sugar mixture. I was pleased to see that the salmon was darker in color and looked just like cured smoked salmon that I have purchased in the store. Except mine wasn't smoked. Now for the moment of truth! Tasting it!
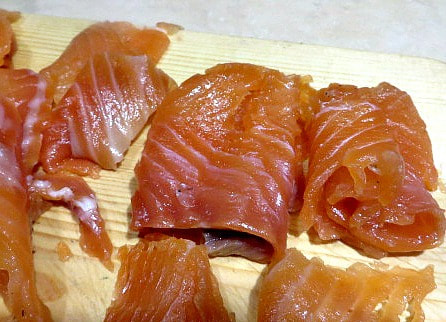
The recipe says to slice it horizontally into thin strips. I struggled with that. It was hard to get a pretty thin slice, but that may have been my knife. I did get a few good slices. Of course, I tasted the very first slice. It was fabulous! This salmon is so flavorful and sweet! I was thrilled with the result.
Since many of the recipes called for mustard. I first served mine on a sprouted wheat roll with a layer of mustard and the salmon on top. I was trying to get that smorgasbord feel. 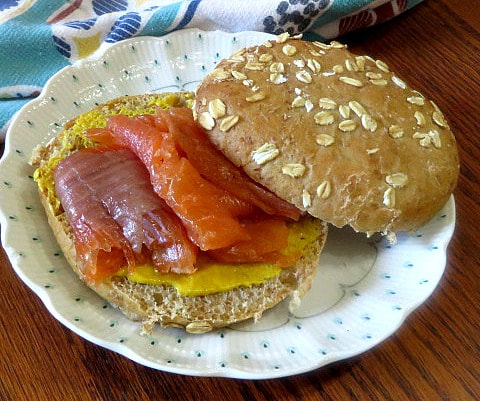
Later, I boiled some eggs and served a light supper with sprouted wheat toast, slices of eggs topped with gravlax. It was so tasty! My husband loved it, too! I felt so in touch with my Danish roots! I can't wait to try another Danish recipe very soon! Let me know if you give this one a try!
This post contains affiliate links. If you make a purchase after clicking them, we will be compensated, but there is no additional cost to you. All opinions expressed are our own. Thank you for your support.

Lately I have been feeling an urge to get to know more about my Danish ancestry. I've always known that it was part of who I am, but I feel like I know a lot more about my British ancestors than my Danish ones. I've started looking up things about Denmark and finding out some fascinating things. And, what better way to get a feel of a group of people than to learn about their food and why they ate the way they did.
Alicia did a series of recipes from her ancestry a couple of years ago and she shared an Æbleskiver recipe with you that she was given by a friend. In order to make it, she purchased an actual cast iron æbleskiver pan that she ordered from Amazon.
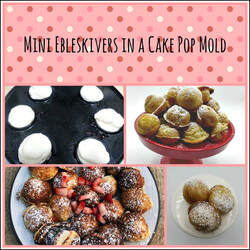
I haven't yet purchased the correct pan, so I started wondering if I could make aebleskivers using a different method. My granddaughter accidentally left her cake pop maker at my house, and while the molds are smaller, I thought some little pop in your mouth aebleskivers might be fun to try! It worked out pretty well. (My granddaughter found her cake pop maker at a thrift store at a fabulous price. Here is a similar one on Amazon. There are many brands and varieties available.)
I used this recipe from International Cuisine. It is very similar to Alicia's recipe, except it is a smaller batch. I was happy about that since it still made a ton and since the maker only made 6 at a time, it was time consuming. Here are some tips that I figured out as I made the aebleskivers in a cake pop maker:

This is a batch with batter, a dollop of strawberry jam and then more batter on top to cover the jam.

You will end up with these little walnut sized gems that will not last long on your platter!


Although my great grandfather came to the USA from Denmark, I was never raised with any idea of the Danish traditions. My grandmother, who was his daughter died before I could have known her. But as I learn of the Danish culture and foods. I get an understanding of things that I like and feel that are part of my make-up that I have possibly inherited from the Danish side of my family. (Seafood! Hello!) And, LEGOs originated there!
Aebleskivers are my first try at a Danish recipe, but I have seen others that I am soon going to give a try! So, keep your eyes open for those! Have you tried Aebleskivers in one form or another? What is your favorite filling? I wish my granddaughter had been here to make these with me, I know she would have loved doing it. Maybe next time!
|
Creators of Hot Cocoa Bombs! (copyrighted)

Author
Helen Reynolds: Mother of six children , grandmother to eleven! I love to cook, craft and create things and I especially love doing that with my family, So, when my lawyer daughter, Lindsey, my artist daughter, Madalynn, and I came up with the idea of Hot Cocoa Bombs, this blog was born. Then, one more daughter, with her technical and science skills, plus creativity has joined in to round us out! Read more about us here! 
Click this link and visit 3WinksDesignShop on Etsy. Find our Hot Cocoa Bomb Idea Book, our For the Love of PIe e-book and more of our creations!

Amazon Gift Cards are the Perfect Gift!
    Archives
June 2024
|


 RSS Feed