|
This post contains affiliate links. I will be compensated for purchases made through those links at no additional cost to you. Thank you for your support!
You guys, handmade monthly is a little bit on hold today so j/k, this is not handmade monthly, it is Renny's Recipes!
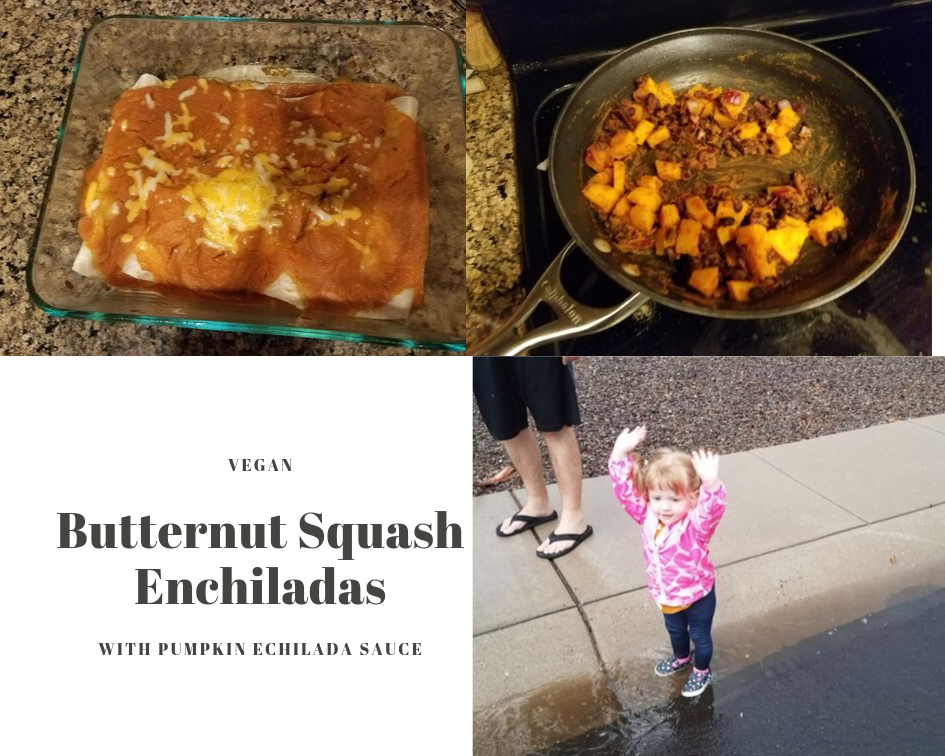
The weather here has been amazing. Usually when fall rolls around here in Phoenix everything is same old same old. It is still hot, just not as hot as it was in August. This week has been cool and rainy, and it is filling us with endless joy! My little one always "want to splash puddles!" Well, with this cooler weather I want some fall food, but I also want some Mexican food, because I am a human. These Butternut Squash Enchiladas with Pumpkin Enchilada sauce are the perfect solution!!! They are easy to make vegan too, just use your favorite vegan cheese instead of regular cheese and bam! Vegan. Our house has become a gluten free house. I found these gluten free flour tortillas and I have to say, they are amazing. My toddler mostly just wanted to eat her tortilla for dinner. I highly recommend them, even if you are not gluten free! Anyway, the pumpkin enchilada sauce in this recipe is AMAZING! Look, when people tell me that pumpkin doesn't go with everything I know that they are wrong because I have tried pumpkin with everything and, it DOES! Pumpkin can be sweet or savory and the pumpkin with the smoked paprika is just... heavenly. Also, you can't go wrong with a pumpkin/butternut squash combo. Make these enchiladas, you will have no regrets. Butternut Squash Enchiladas with Pumpkin Enchilada Sauce For the Filling: 1 butternut squash, cooked and cubed (I threw mine in the air fryer at 370 for 15 minutes) 1 15 oz can black beans 1/2 sweet red onion, diced 1 tsp salt 1 tsp pepper 1 tsp garlic 1 TBSP cumin 1 cup shredded cheese For the Sauce: 1 15 oz can pumpkin 2 cups water 1 tsp chili powder 2 tsp salt 1 1/2 tsp smoked paprika 1 tsp pepper 1 TBSP cumin 1 TBSP garlic Steps: Preheat oven to 400 degrees Blend all ingredients for sauce in blender. Transfer to a pot and simmer for ten minutes Place onions in skillet and cook until soft. Add butternut squash and beans Add seasoning and cook 5 minutes. Add 1/2 cup of the sauce and cook an additional 2 minutes. In a glass pan spread 1 cup of sauce along the bottom. Fill each tortilla with 2 TBSP of filling and 2 TBSP cheese. Roll tortilla and place seam side down in sauce. Makes 8 enchiladas. Pour remaining sauce over enchiladas. Cook for 15 minutes. Remove and add remaining cheese over the sauce. Cook an additional 5 minutes.
2 Comments
This post contains affiliate links. I will be compensated for purchases made through those links at no additional cost to you. All views expressed are my own. Thank you for your support!  Hello everyone! I am back with another delicious fall recipe. It is another fantastic way to use pumpkin! I have to say, these quesadillas were amazing. I will probably make them again soon because they were ooey, gooey, cheesy, happy goodness. Now, I grew up in Arizona. What this means is I grew up with a little something called a cheese crisp. If you aren't from Arizona, you probably don't know what a cheese crisp is, so let me explain it to you. A cheese crisp is a flour tortilla with shredded cheese on top. You pop that baby in the microwave until the cheese melts. Mmmmm, cheese crispy goodness. "Wait a minute! That is a quesadilla!" I know, I hear you. Here is the thing, in my mind, a quesadilla always requires something additional, beyond just cheese. Melted cheese atop a tortilla is a cheese crisp. You add some chicken and fold the tortilla over, you've got yourself a quesadilla. Maybe it doesn't make any sense to you, but that is the way it is. These pumpkin quesadillas are savory, delicious, and full of flavor! I am going to make one edit to this recipe card because I forgot to include one key ingredient: one can of Rotel. I used mild because quite honestly I am a wimp when it come to spice. You use whichever level of heat you prefer. You could even kick it up a notch with some chili powder or hot sauce if you'd like. Make this pumpkin quesadilla as spice or as not spice as you'd like. I can promise you, it is full of delicious flavor and you are going to devour them! 
This post contains affiliate links. I will be compensated for purchases made through those links at no additional cost to you. All views expressed are my own. Thank you for your support!

Hello everyone! I am back with a PUMPKIN recipe because it is September and I am SOOOO EXCITED for summer to be over and for all the fall festivities to begin!!!
I keep seeing people post memes on the social medias about being sad about summer being over. Listen, we live in a desert. It is boiling lava hot in the summer. It is not enjoyable at all. I mean, we have a swimming pool and I am so thankful for it, and it is how I survive. However, there is no happiness in summer. Only heat and death. Fall though? Fall comes and the temperatures become bearable. I imagine it is what many of you experience in the summer. Temps that are not 100 plus degrees. It's a dream life. It's made even dreamier by the fact that people embrace my love of pumpkin. So, from here on out, I'm going to have a lot of yummy pumpkin recipes for you. I wanted to start off with this delicious savory dish. Often times, when people think of pumpkin they think of things like pumpkin pie, pumpkin bread, or pumpkin rolls. Believe me, I am 100% on board with those. However, the savory meals tend to be forgotten, and savory meals with some pumpkin thrown in are elevated meals. Like this delicious creamy pumpkin pasta recipe. This pumpkin pasta sauce is so creamy and delicious, you will devour this pumpkin pasta dish! The best part? It is so easy to put together! In our house, it was a meal our whole family could enjoy! We usedthis gluten free pasta since PH can't have gluten. This has been our favorite gluten free pasta version so far. Do you have a favorite gluten free pasta? Let me know what it is in the comments! Use it with this creamy pasta sauce! It's fall time. It's pumpkin time. It's creamy pumpkin pasta time. Enjoy!
Creamy Pumpkin Pasta
Ingredients: 1 Box Ronzoni Gluten Free Penne Pasta 1 15 oz can pumpkin 1 can chicken broth 1/2 block cream cheese 1/2 red onion, chopped 3 tomatoes chopped 2 tsp salt 1 tsp pepper 1 TBSP garlic 1/2 cup Parmesan Directions: Cook pasta according to package directions Combine pumpkin, broth and cream cheese and stir until the cheese is melted. Add in remaining ingredients and stir until you have a smooth ,creamy sauce Combine all ingredients in one bowl and mix to get sauce on all of the pasta. Garnish with basil. 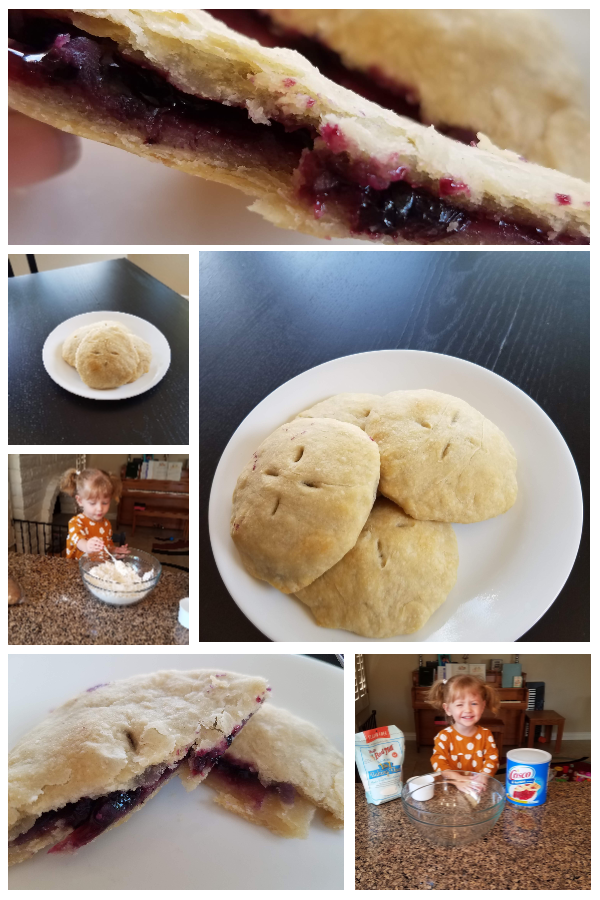
Hey guys! I know it's been awhile! I was working on a few recipes and trying to find a way to sleep in the middle of everything else in life and so the blog took the hit. But I'm BACK today with a DELICIOUS recipe! If you follow us on social media (DO you follow us on Social Media? Because... ahem, you should) you'll remember that I posted this picture:
And told you I had something delicious brewing. So here it is, blueberry hand pies! We've talked about hand pies before. They are fun, tasty, and "handy" (hahahahaha.) I was talking to my mom about making them and wanted to do it in a fast and efficient way. So, I experimented a little bit and here is what I came up with to make a lot of hand pies all at once!
So, I came up with this idea of rolling out the pie crust dough and filling the hand pies so it wouldn't take so long to get each individual pie done. My mom thought about using a ravioli slicer. That would be a great idea, except I don't have one.
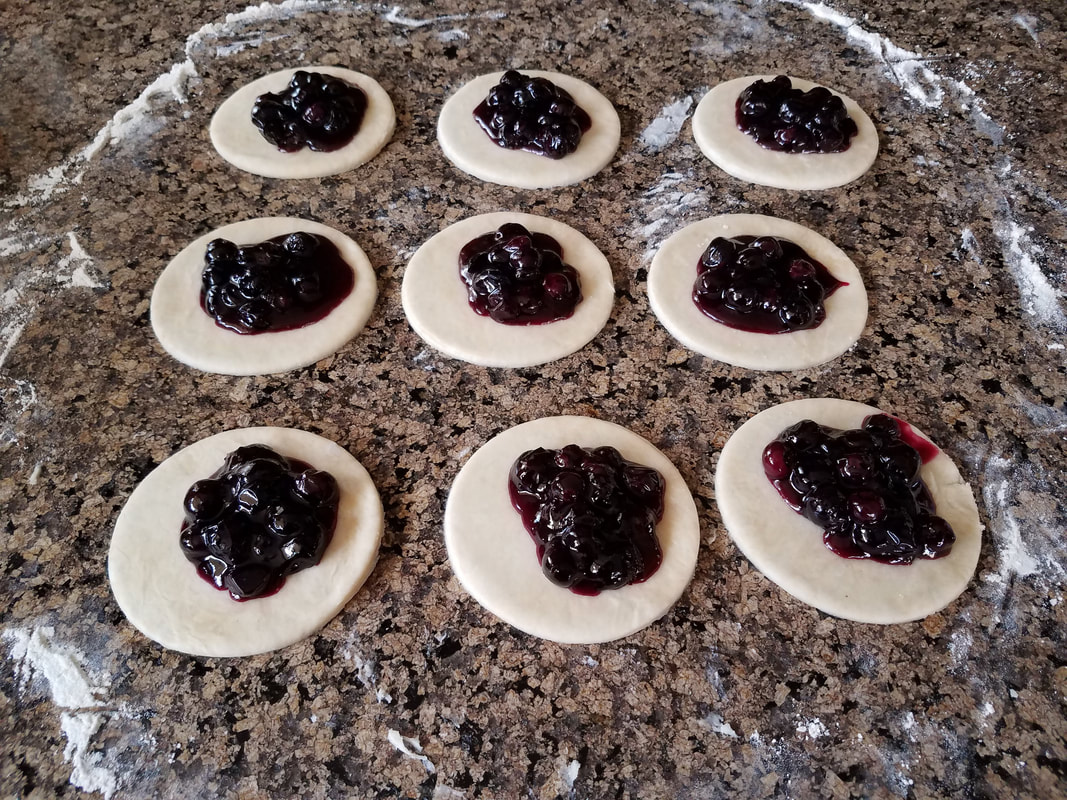
I toyed with cutting the dough to a perfect square and making hash marks, but in the end, I liked the method I came up with. You roll out your pie dough, and then use a big round cookie cutter to mark the spot for each one. In this photo I cut each one out individually, but you don't have to. Just use the cookie cutter to make a mark in the dough so you can see where the center of your hand pie is. You can wait until you put the top crust on before cutting it out completely. 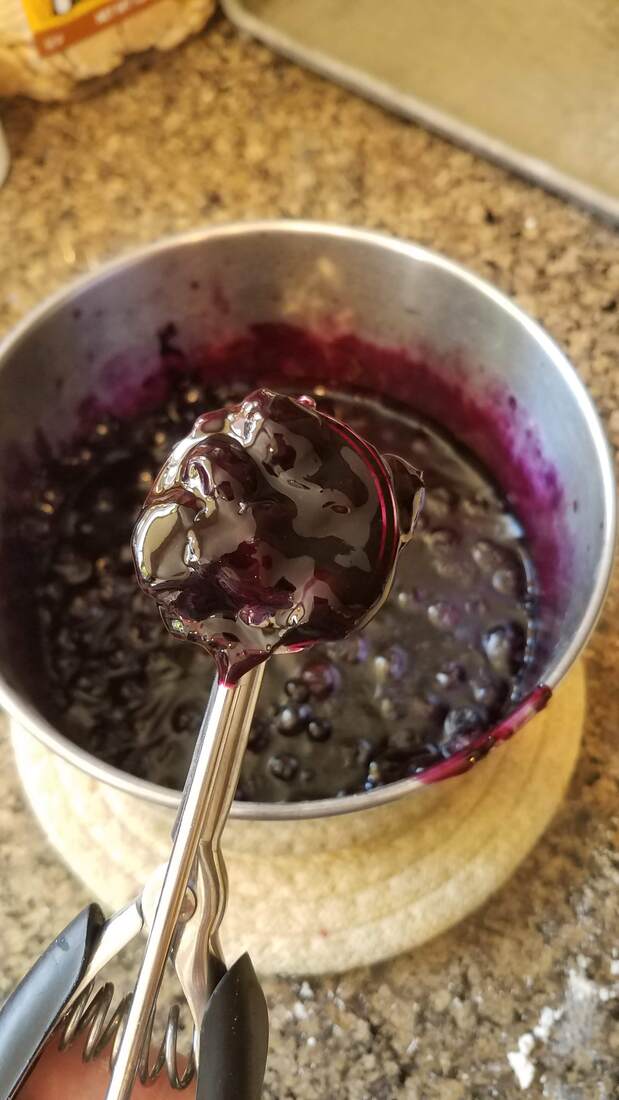
I used a cookie scoop to get the blueberry filling on the center of each circle. Once each circle had a dollop of filling I rolled out the top crust and laid it over everything. Then I was able to center my cookie cutter over the blueberry filling lump to cut out each hand pie.
Then, if you want to get fancy, you can use a fork to press down the edges to make them look pretty, but you don't have to. You can press them together with your finger. I would recommend using a knife to cut slices in the top however. Place the hand pies on a cookie sheet. Then you put your hand pies in a pre-heated oven (to 400 degrees Fahrenheit) and bake for 15-20 minutes, depending on how dark you like them. 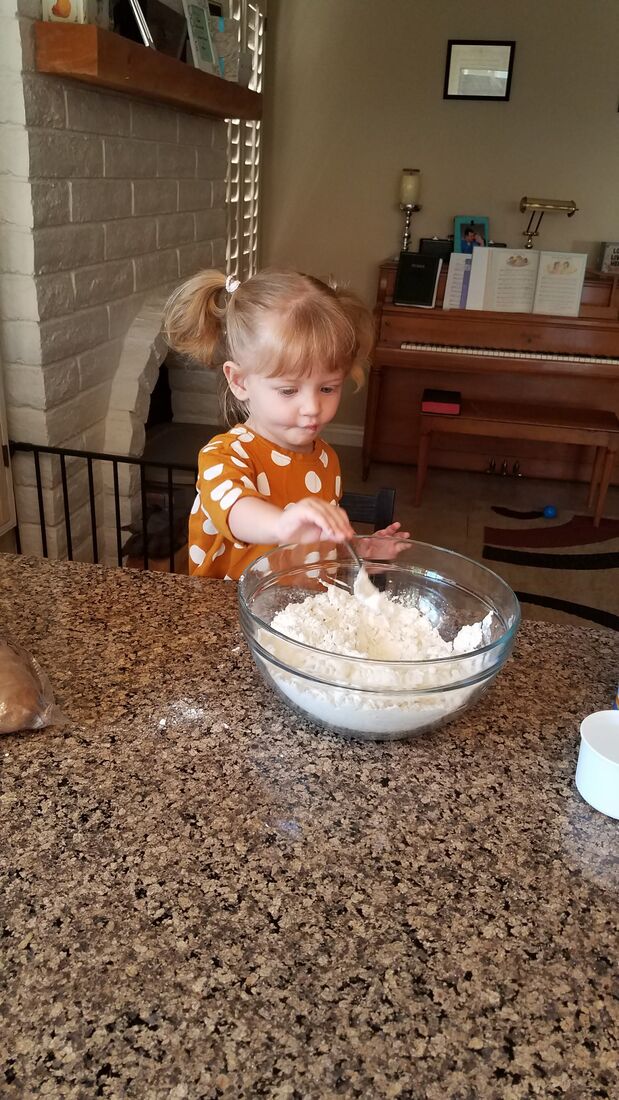
My little one loves to help me bake, and she LOVES blueberries, so she really enjoyed the filling while she helped me make these hand pies.
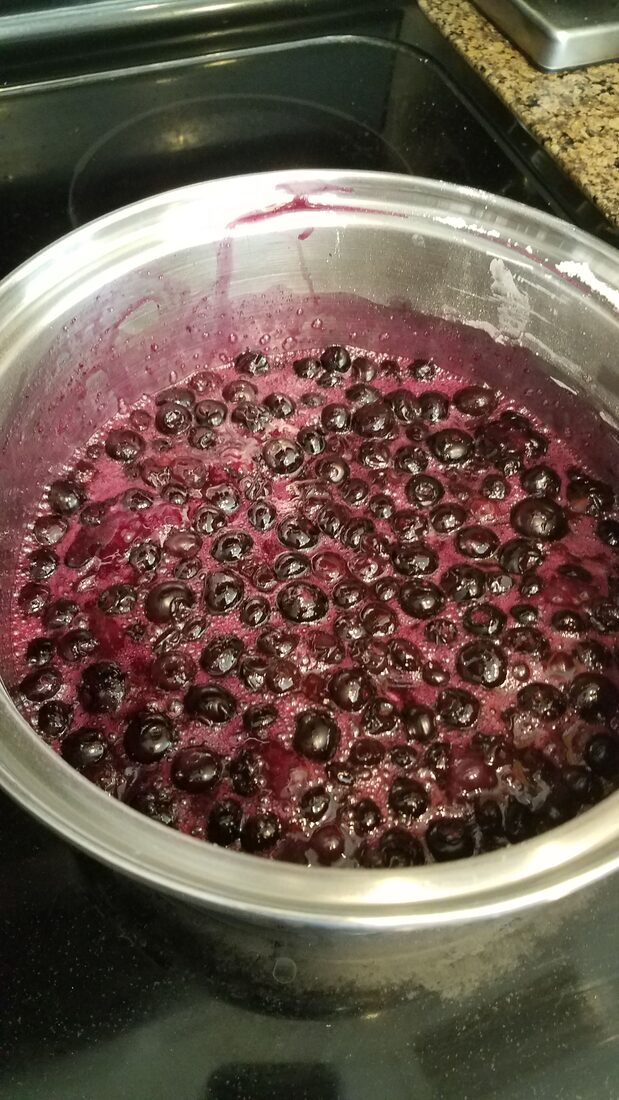
This filling is amazing guys! Here is the recipe! Blueberry Pie Filling
You can add more sugar if you like it more sweet, but to me, this had the perfect level of sweetness. I could not stop eating this blueberry filling! After making our blueberry hand pies I had a little extra leftover. I enjoyed it atop some ice cream! 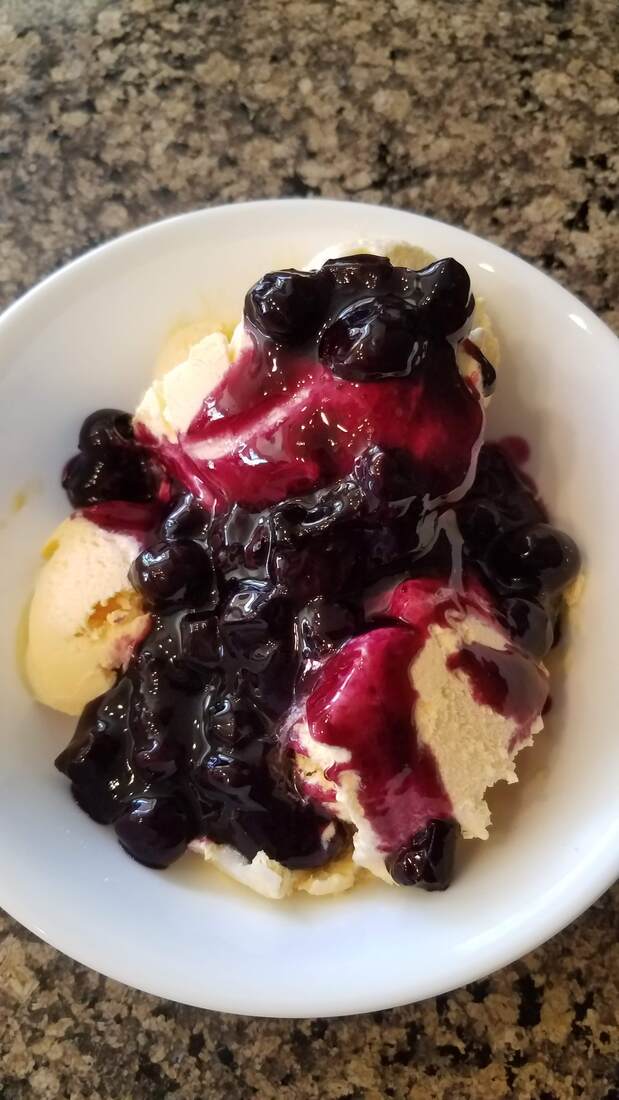
These hand pies are fun and easy to make! If you recall, we have our pie e-book, For the Love of Pie, which you can buy in our Etsyshop!
Also, if you subscribe to get our emails (why wouldn't you?) check your emails out today for a special surprise!
|
Creators of Hot Cocoa Bombs! (copyrighted)

Author
Helen Reynolds: Mother of six children , grandmother to eleven! I love to cook, craft and create things and I especially love doing that with my family, So, when my lawyer daughter, Lindsey, my artist daughter, Madalynn, and I came up with the idea of Hot Cocoa Bombs, this blog was born. Then, one more daughter, with her technical and science skills, plus creativity has joined in to round us out! Read more about us here! 
Click this link and visit 3WinksDesignShop on Etsy. Find our Hot Cocoa Bomb Idea Book, our For the Love of PIe e-book and more of our creations!

Amazon Gift Cards are the Perfect Gift!
    Archives
July 2024
|
 RSS Feed