|
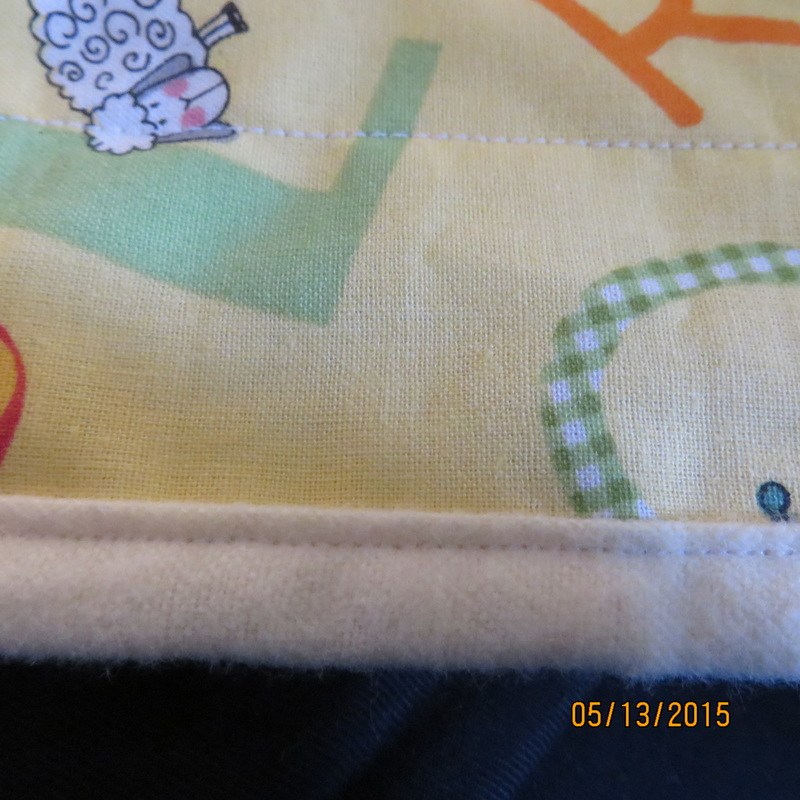
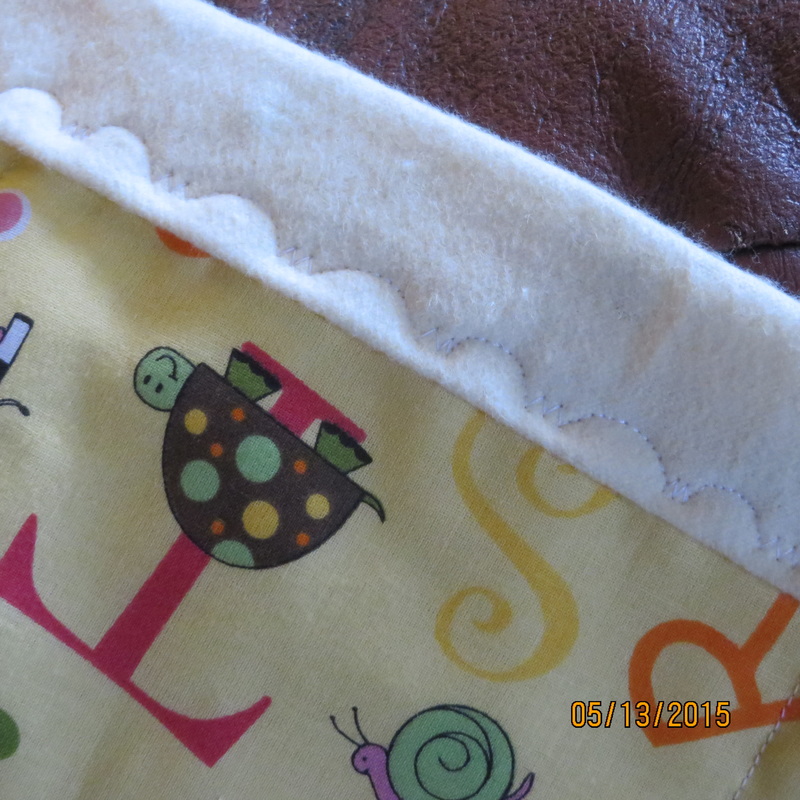
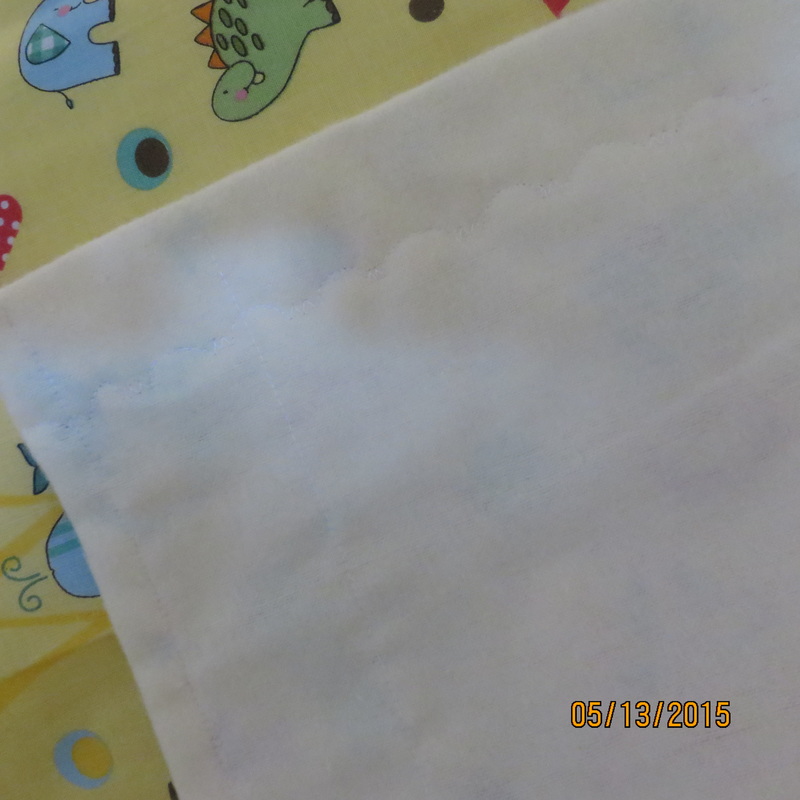
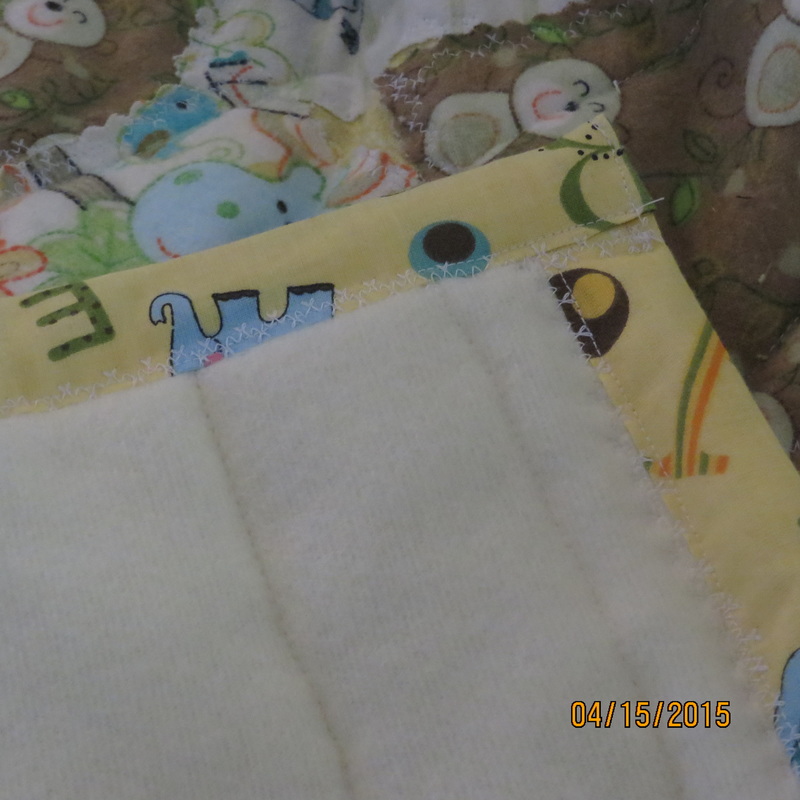
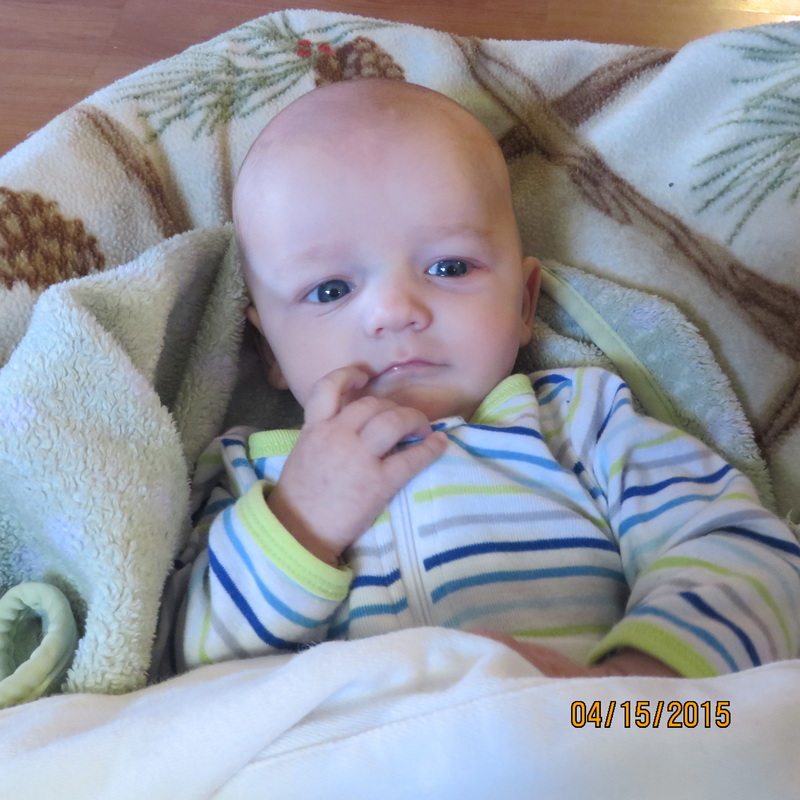
After I made Little Adrian his quilt, I had quite a bit of the fabric from the binding left over. I decided that Hunter needed a nice blanket that would keep the coolness of the air conditioning off of him, but not be too hot for our climate here in Phoenix. Here is what I came up with. 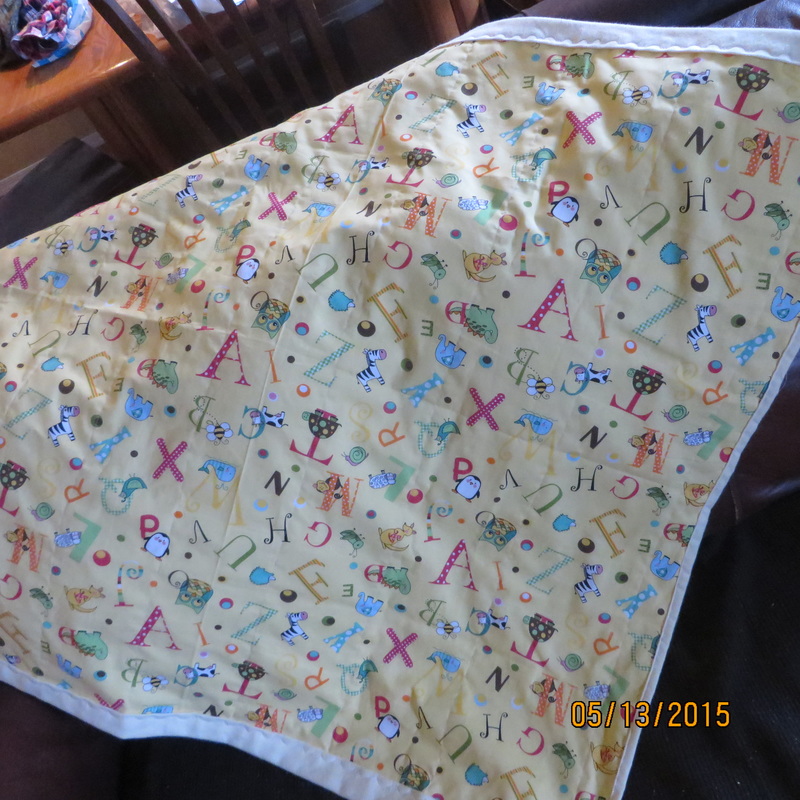 I used flannel on the back and did a self edging. I just cut out the main fabric to the size that I wanted it. Then I cut the flannel a few inches wider all around. I cut the flannel so that the ends would have a deeper fold than the sides. I did it this way because baby Hunter loves feeling fuzzy fabric next to his face when he falls asleep. I layered the fabric with wrong sides together. Then, I basted and pinned the fabric in the lines that I wanted to "quilt" them together on my machine. I use the term "quilt" loosely since I didn't use batting in between the fabric. I wanted this little blanket to be light but cute for our Phoenix weather. The third picture shows how the back looks. The flannel is soft and comfy. I have a picture of Hunter wrapped in the blanket, but my camera has died and I can't get it right now, so I will post it on the next blog! See you then. In the meantime, tell me what you think! 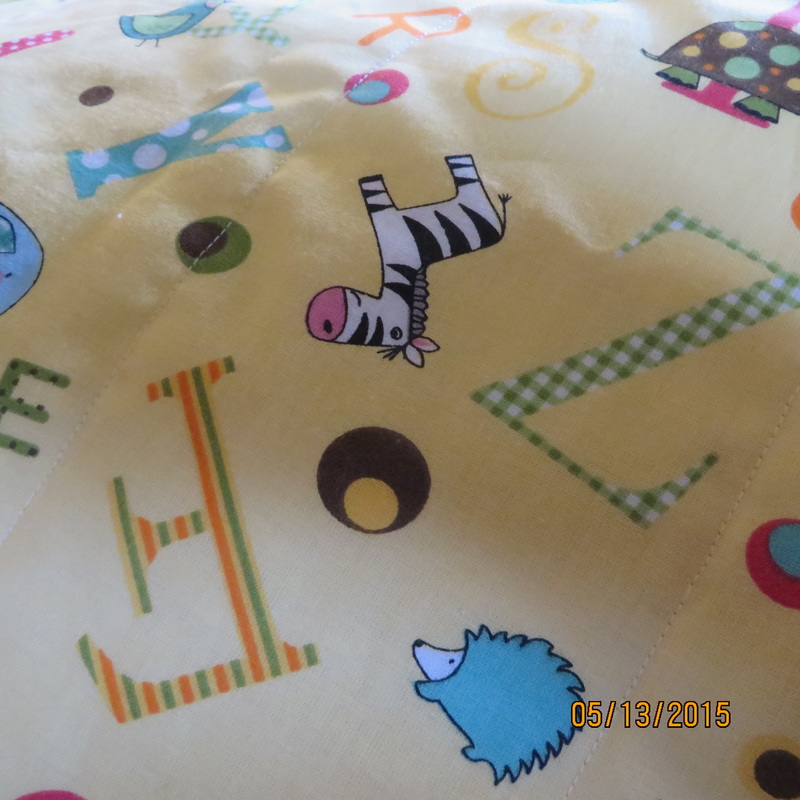 I hope you can see how I used the pattern as a guide to make straight verticle lines to sew on.
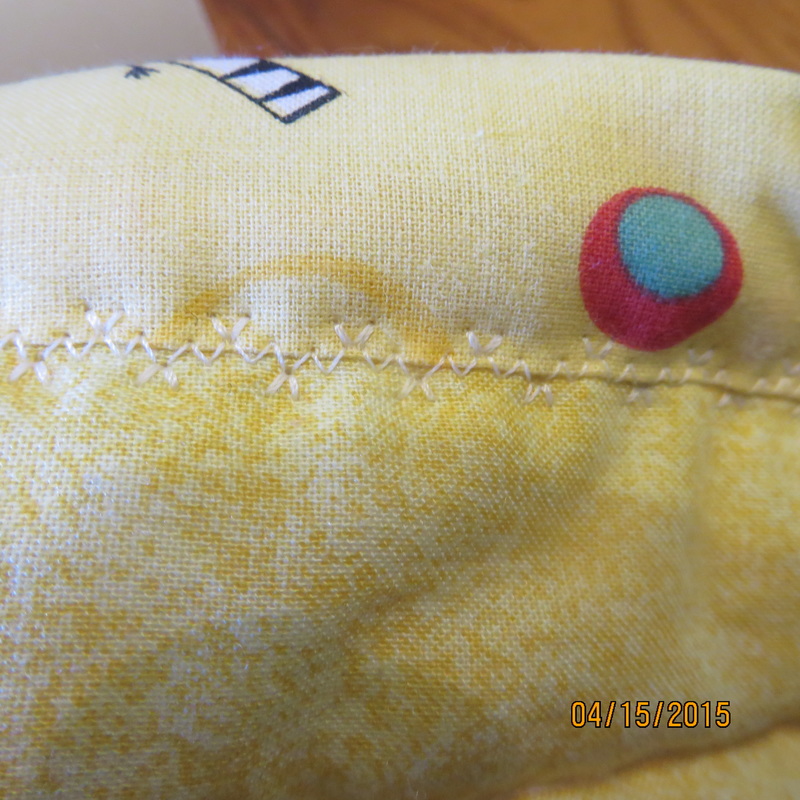
Next, I folded over the flannel edging twice to make a nice finished edge. I used a straight stitch on the sides for a clean look. On the ends with the wider hem, I used a decorative stitch.
1 Comment
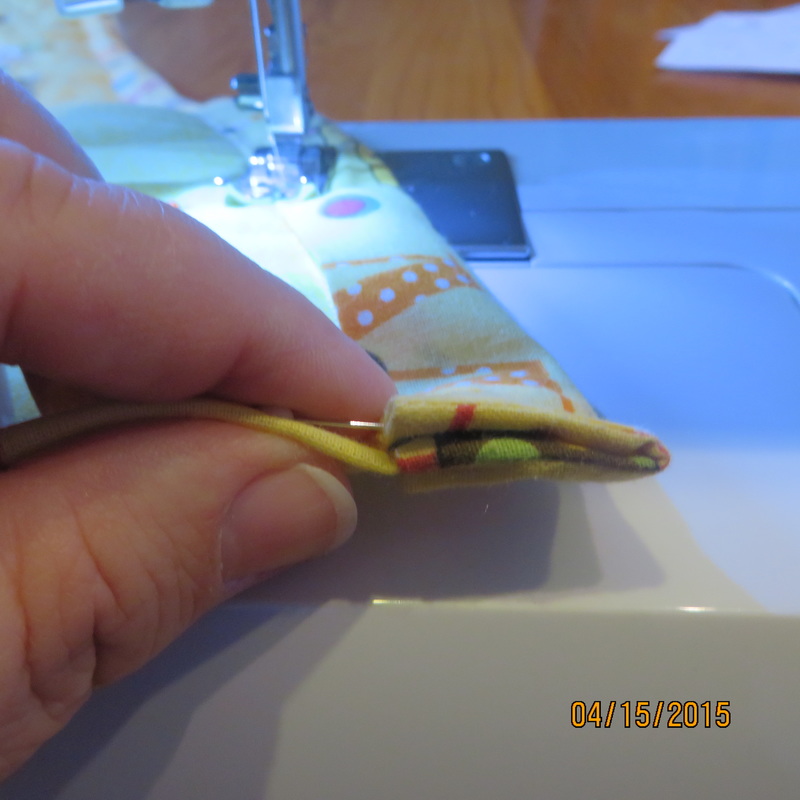
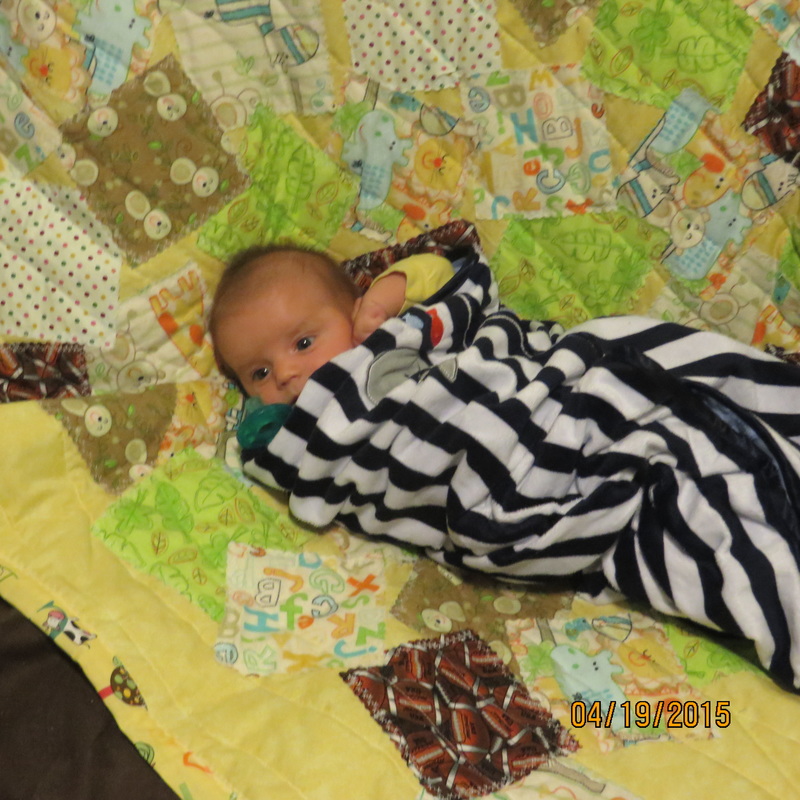
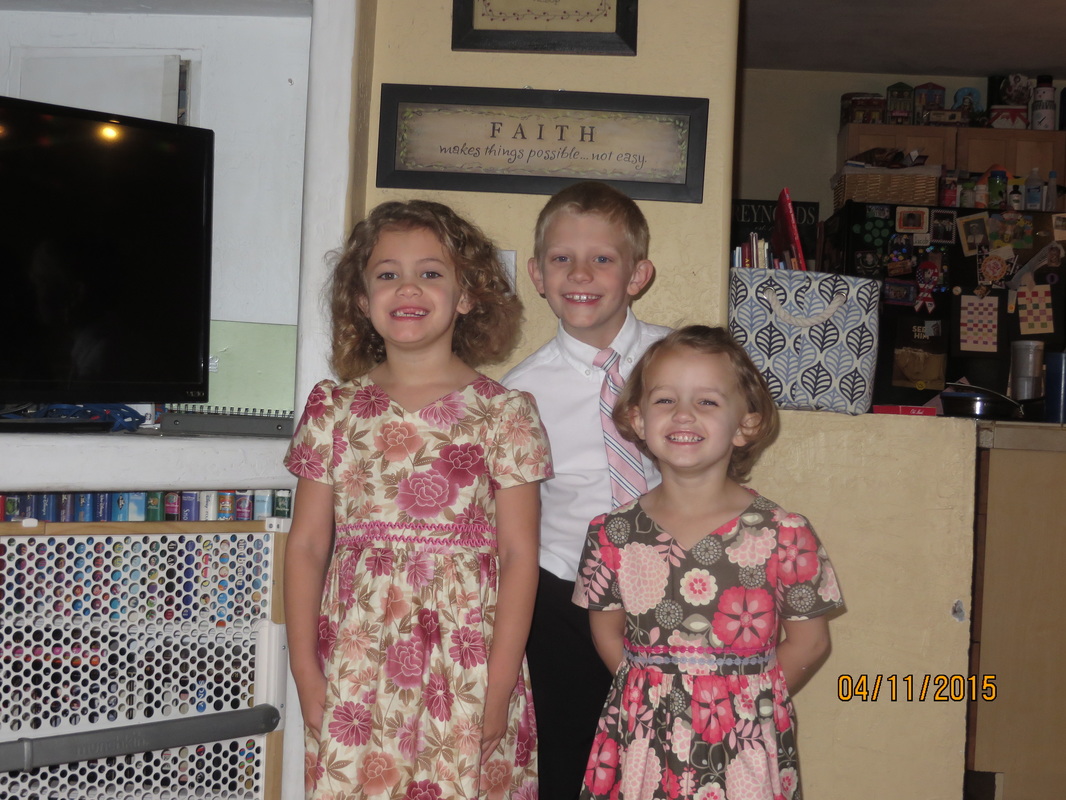
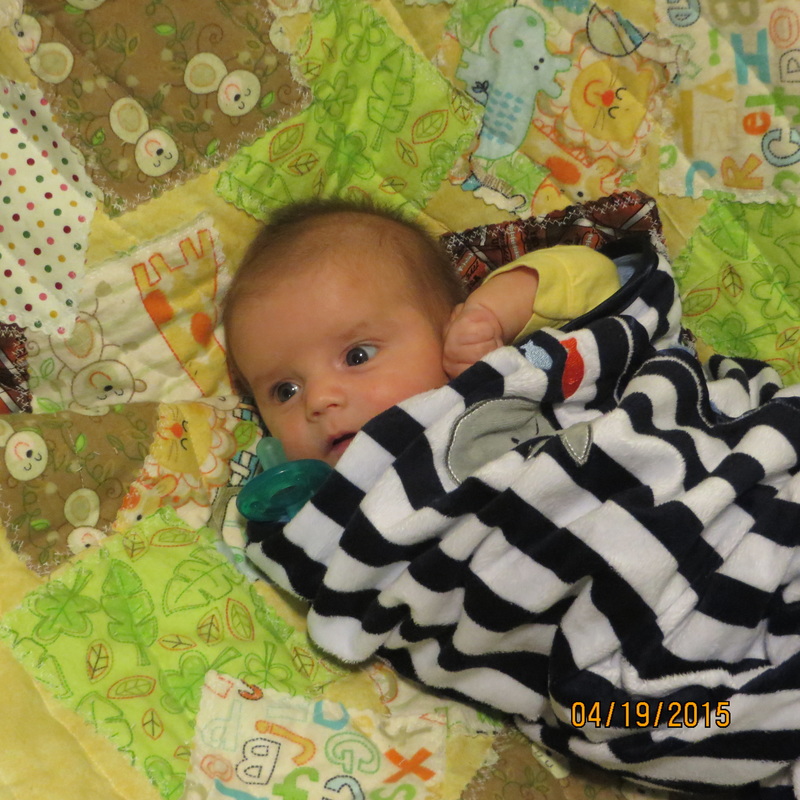 I finished Baby Adrian's Quilt! Remember this post? http://threewinksdesign.weebly.com/3-winks-writes/babies-babies-everywhere I was able to take Little Adrian his quilt when we went up to Provo for his baby blessing, two Sundays ago. Here he is on it: Isn't he a doll? The quilt came out pretty good, too. Here is how I did it. As I told you I would do, I sandwiched the batting between the top and the bottom and macine quilted it in channels. I think you can see that in the above photo, but her is another picture. 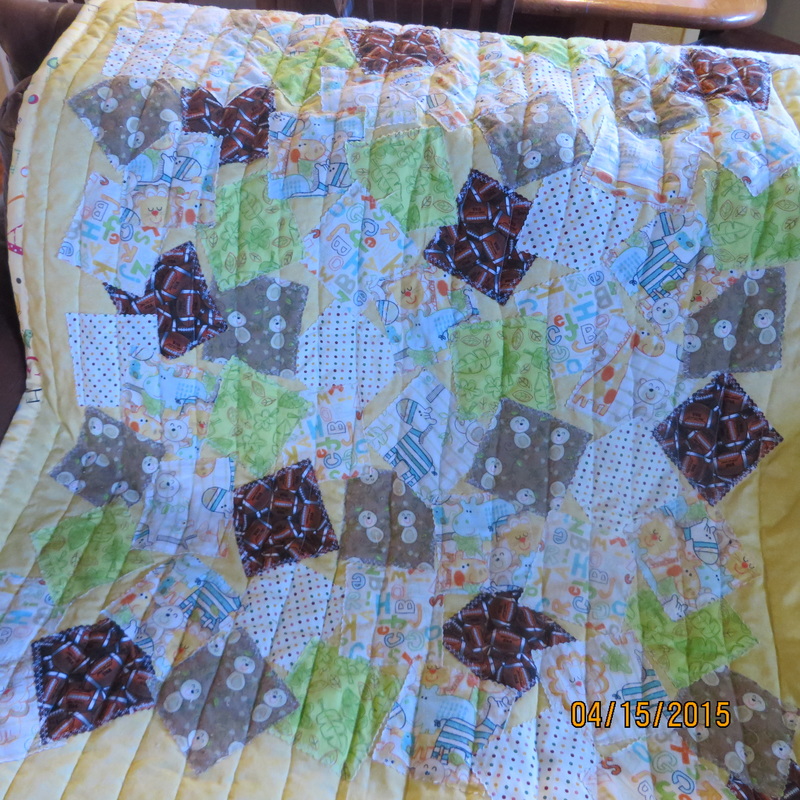 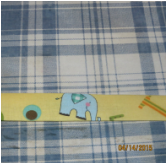 Folded and edge finished. Folded and edge finished. Then, I folded the strips in half and folded under the edges to finish them. Put your iron to good use. 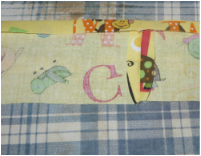 Sometimes I had to sew strips together to make them long enough. Please try not to notice my singed ironing pad. This is a photo of the finished quilt. Don't look too closely at the crooked lines, but I don't think it is too bad, do you? Next, I cut strips of my edging fabric. I cut the strips 3 inches wide because I wanted some of the cute ABC animal print to show.  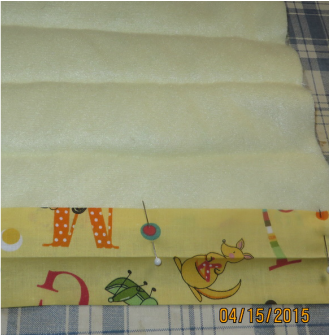 I started by pinning the strip onto the back of the quilt. Then I stitched the strip on with a straight stitch.  Next, fold the strip to the front, folding under the ends to finish them. Here are some photos to show the process. 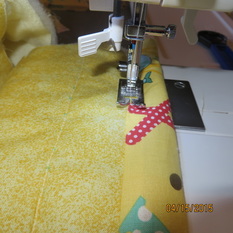 I used a decorative stitch on the front that caught the edgo of the finishing strip and covered the straight stitch on the back. Click on the above photos for more descriptions. I was really happy with the end results! I have enough of the edging fabric left over to make a lighter weight blanket for my other little cutie. We live in Phoenix, so I think a light blanket will be just the thing to keep the air conditioner from gettin him cold. I will be posting about that soon. In the meantime, enjoy a few more pictures of my cuties! 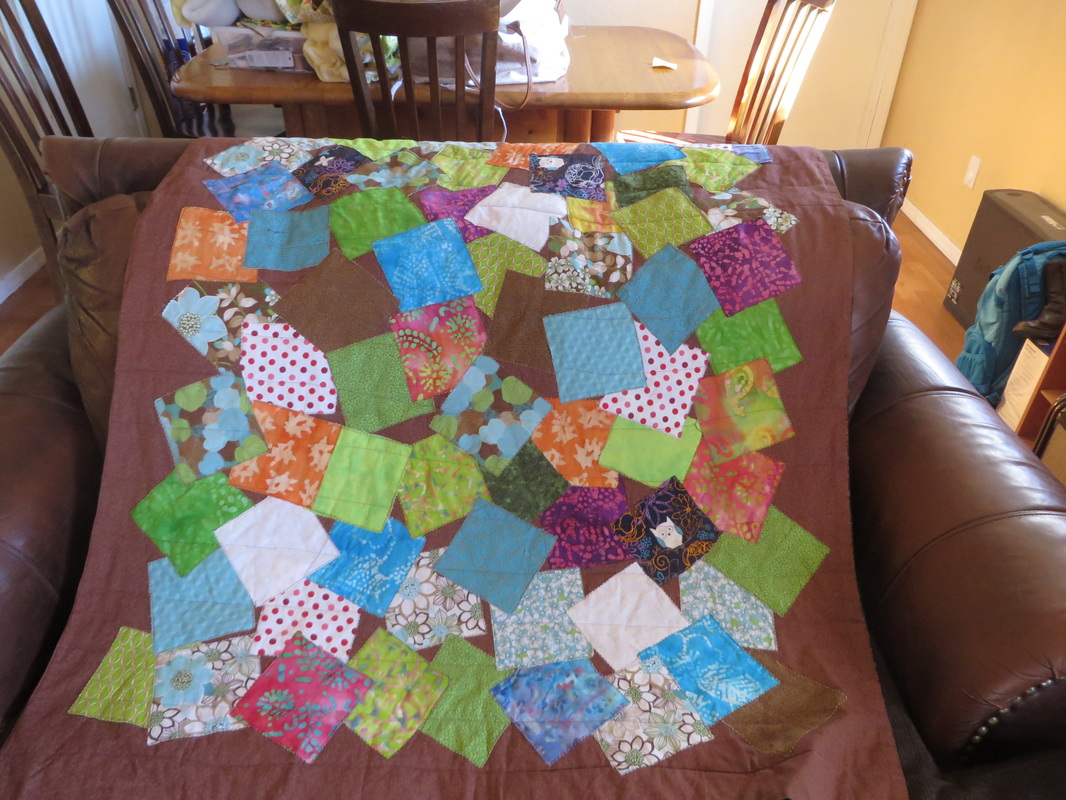 I don't know if I have mentioned that there are many babies expected in our family right now. Among them are my daughter-in-law Korina, who is expecting her 5th, (a boy) at any time now. She has c-sections though, so it will be scheduled unless something unexpected happens. My daughter Alicia is due the end of March. This is her first and she is also expecting a boy. Korina's mom does beautiful quilting and my grandchildren have beautiful quilts that she has made for them. My mom quilts, she is turning 92 this year, so her quilting has slowed down a bit, but she is still at it. Well, I decided that my daughter Alicia's baby shouldn't be deprived of a quilt from his grandmother, even if I am not as good at it as the above mentioned quilters, so I figured that a baby quilt was a good place to start. My mom recently gave me a quilt for the back of my couch to add color to my family room. Here it is: Notice how she used colors and fabrics she knew I would love. 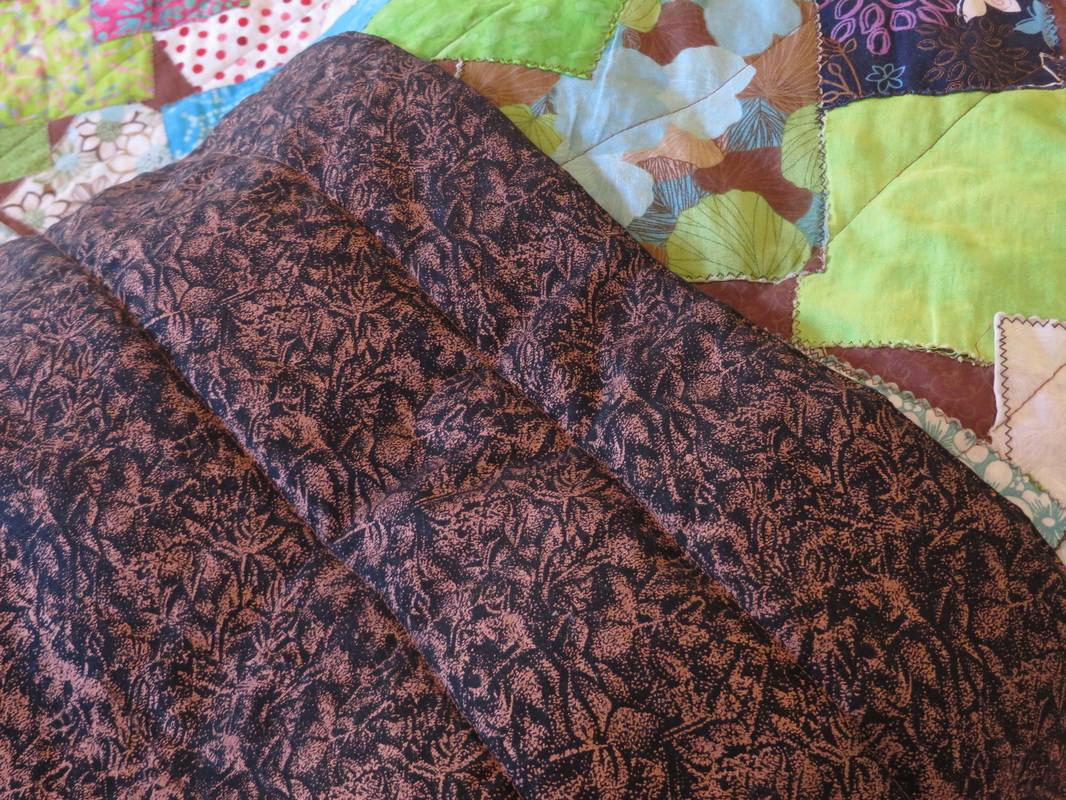 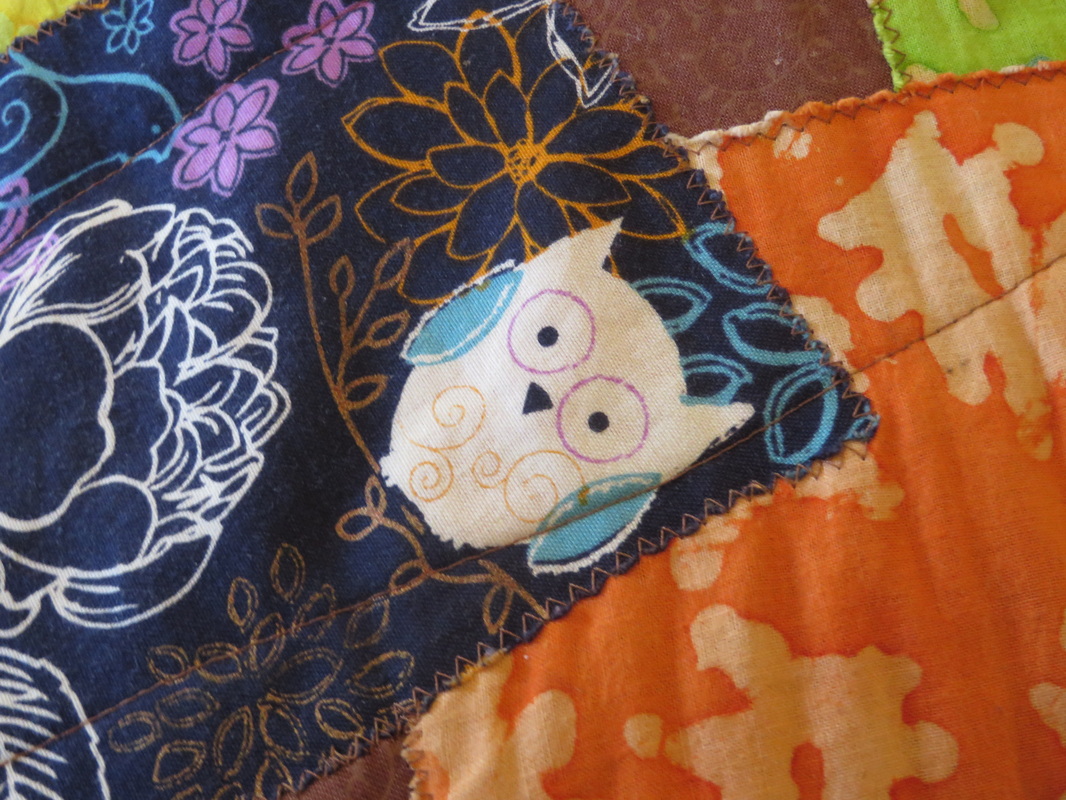 I love the fabric on the back, too. The picture does not do it justice. Also notice that the squares on the front are left unfinished and so when the raw edges get washed it becomes a soft frayed edge. I like the way the squares are radomly placed on the top fabric and appliqued down. I thought that this might be the type of quilt I could figure out and do without having to match points and piece. So, a trip to Walmart's fabric department was called for. Walmart sells collections of fat quarters that are already coordinated for you. The price is really great as well. The cute flannel set I found was under $8.00. My high school football player son Jacob was with me and he insisted we include a football print for his nephew. (He wants to have a football team consisting of all of his nephews one day.) I also threw in a few pieces from my own stash. Here are a few of them. I used a yellow fabric as my top layer and cut out my squares into 5 inch squares with my zig-zag rotary cutter. Then I laid them all out in what I felt was a pleasing design and pinned them into place. 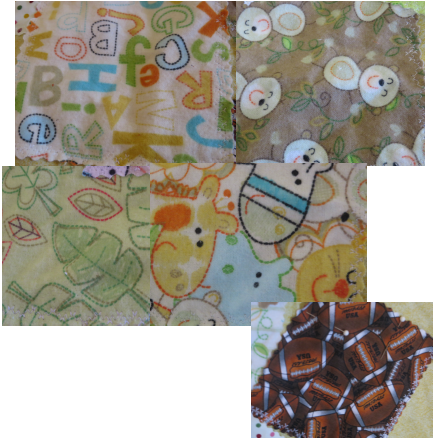 This photo is actually after I stitched it all together. I used a decorative stitch that I have on my new machine that I got this year. I have finished sewing the top together and I have sandwiched in the batting to the backing. It is all basted. I have decided to machine quilt it, so that will be my last step that I will post in my next post. RED ALERT! I have to finish this quilt this week. This morning I was in my classroom at work when I got a call from my son-in-law Adrian. ALICIA'S WATER BROKE THIS MORNING! She is only 32 and a half weeks, they are keeping her in the hospital and holding her off a little longer since she still has fluid and the baby needs more time, but she will definitely be delivering no later than a week and 3 days. I will post the finished product soon! Hopefully a healthy, sweet baby will be wrapped in it! Until then! 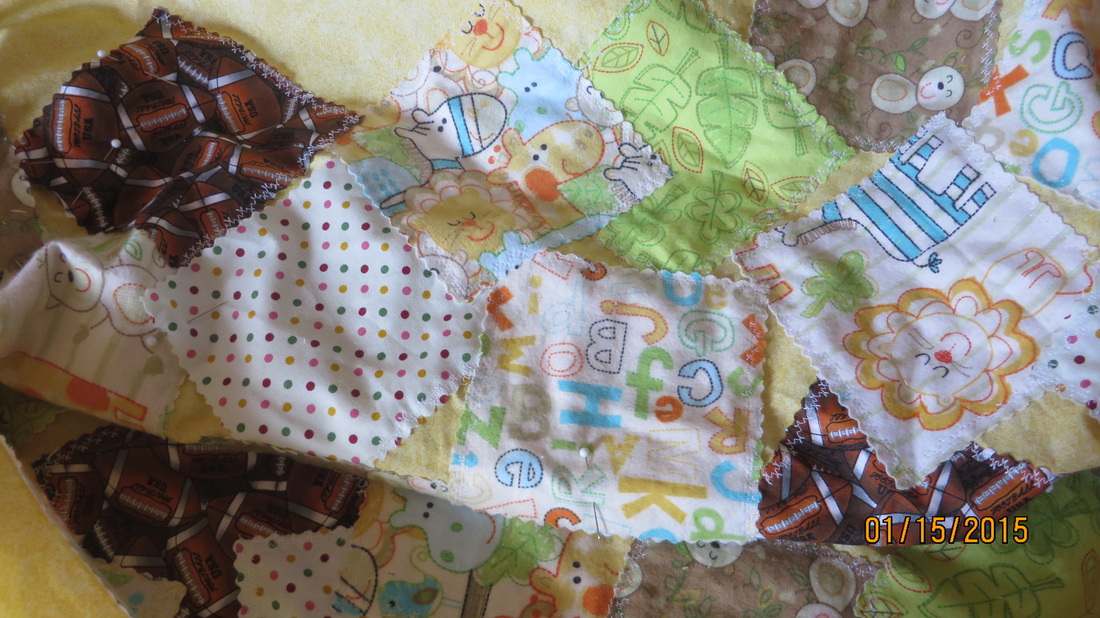 I have a new calling at church! I teach the Sunbeams! (They are the 3 year olds.) I love them and I love this calling. 3 year olds have a very short attention span, so I get to be very creative planning activities and projects to enhance the lesson's main message. That means I carry a lot of supplies every Sunday to church. I quickly realized that I needed a bigger tote to keep myself organized, but I didn't want to spend a ton of money. 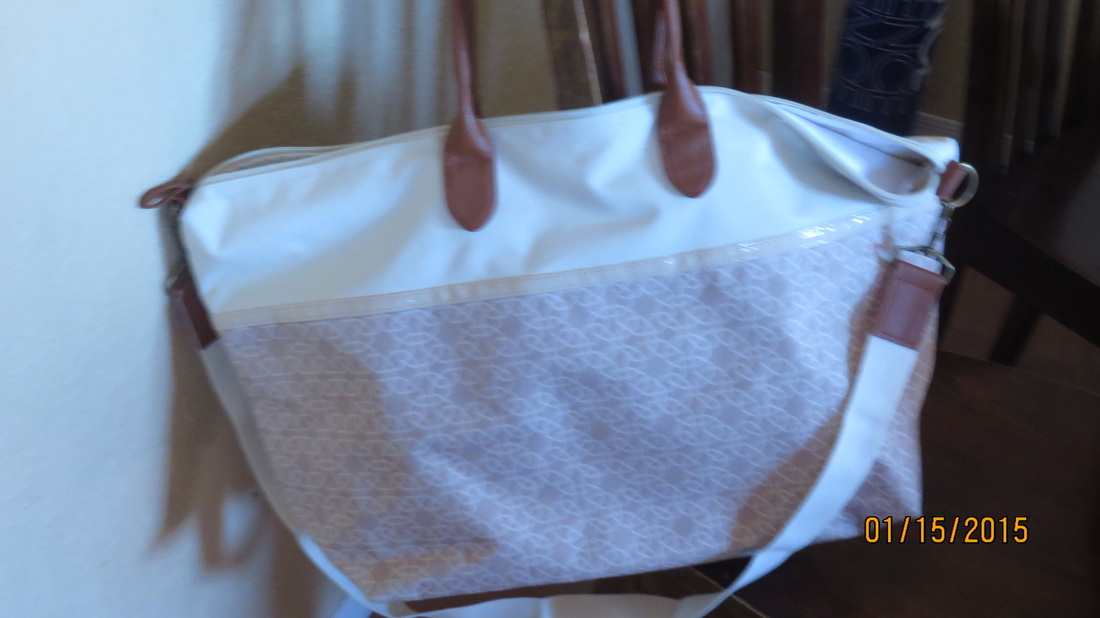 Pretty cute, but no pockets. After looking around the store at different ideas, my daughter-in-law suggested I add pockets to this tote. I remembered an idea I saw on a Martha Stewart site that showed how to use a canvas carpenter's apron to add pockets to a bucket. So, I found a 3 pack of aprons like this for under $10.00:  I had my 50% off coupon, so these were a super good buy! I took them over to the tote and they fit across the inside perfectly! Two of them would work just right, giving me lots of pockets and helping me be organized. (That leaves me one apron left for a later project. I'll let you know.) So I pinned it in the bag under the zipper and stitched it across with my sewing machine. Even though I got it a little crooked, it barely shows on the outside at all. Just cut the waist ties off. Then, start to fill your bag with all the goodies you need to keep your Sunbeams happy! (See the cute play-dough my daughter-in-law's mom gave me? It is awesome. Thanks Anita!) Get to work making your tote! Then share your cute pictures with us! 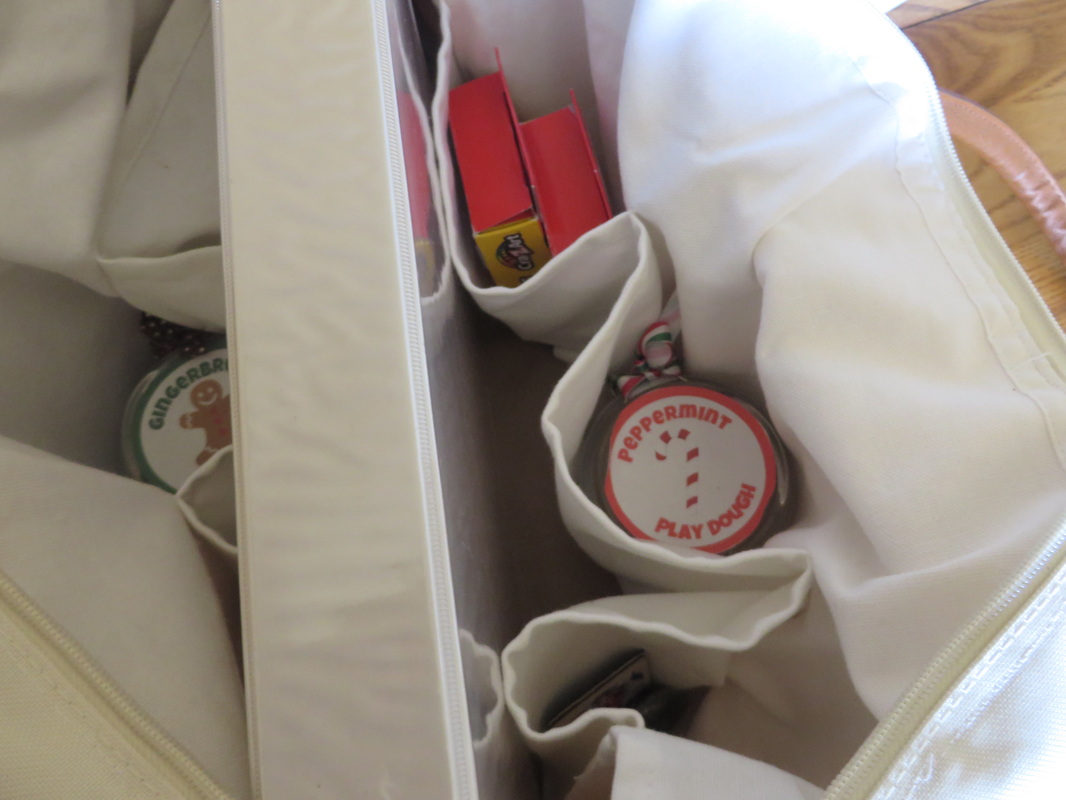 |
Creators of Hot Cocoa Bombs! (copyrighted)

Author
Helen Reynolds: Mother of six children , grandmother to eleven! I love to cook, craft and create things and I especially love doing that with my family, So, when my lawyer daughter, Lindsey, my artist daughter, Madalynn, and I came up with the idea of Hot Cocoa Bombs, this blog was born. Then, one more daughter, with her technical and science skills, plus creativity has joined in to round us out! Read more about us here! 
Click this link and visit 3WinksDesignShop on Etsy. Find our Hot Cocoa Bomb Idea Book, our For the Love of PIe e-book and more of our creations!

Amazon Gift Cards are the Perfect Gift!
    Archives
June 2024
|

 RSS Feed