|
This post contains affiliate links. I will be compensated for purchases made through those links at no additional cost to you. All views expressed are my own. Thank you for your support! 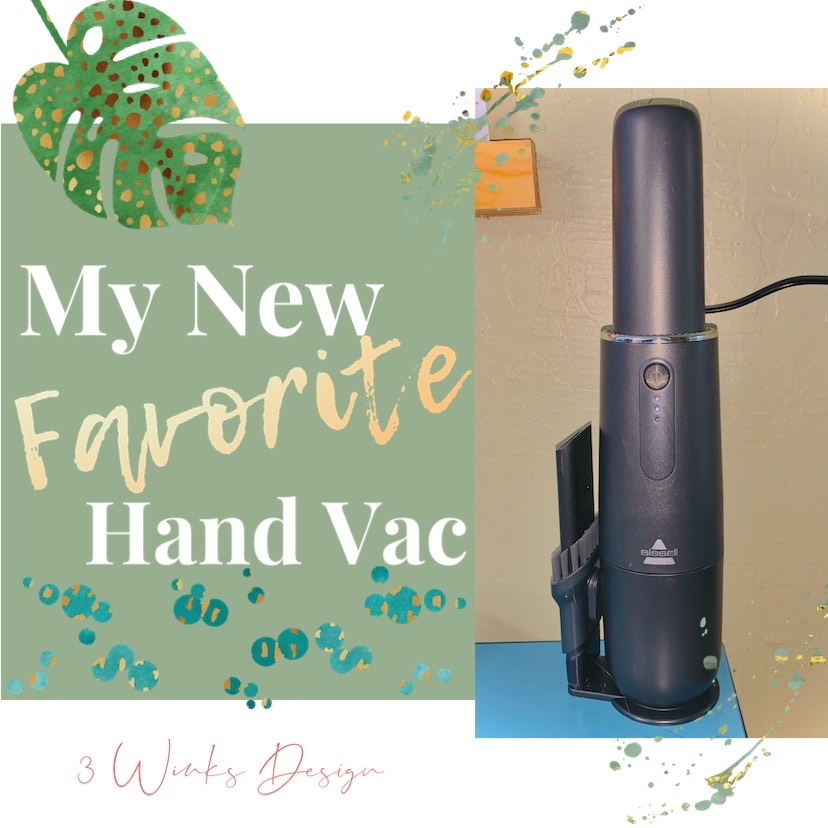 I have to tell you about my new vacuum! On Mother’s Day I received an Amazing gift card. I have held onto it trying to decide what would be the best thing to get with it. For a long time I’ve been on the hunt for a small hand vac that would be easy to carry to the car to clean messes and fit easily into the cupboard where I keep my toaster and crumbs tend to gather. It’s annoying to bring the whole vacuum into the kitchen for such a little thing. I remember my mom having a Dustbuster and my sister getting a toy one (that actually worked!) when she was little. I wanted something like that.  Browsing Amazon one day I saw a special deal on a new model of a Bissell hands vacuum. It was only $30! A steal! Plus it was a brand I trust, Bissell is the same brand as my current vacuum, which I’ve had for 8 years and is still doing great! I was hesitant because it only had 20 reviews but almost 5 stars. I decided to go ahead and get it because I love my Bissell big vacuum. 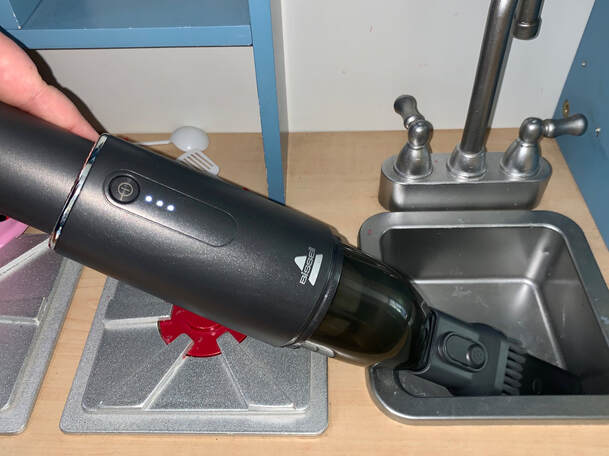 My little Bissell came and I love it! I’ve already used it in the car and it looks so good. It came with an attachment that makes it easy to get into small crevices between seats. And into cup holders. It’s pretty powerful and easy to clean out the filter (which is washable). I also love it’s sleek design and that it charges with just a USB. I do wish that it could hold more stuff before needing to be cleaned out. But cleaning it out is so easy that it’s not that big of a deal. Safe to say I’m in love with my little vacuum. I think if you’re missing the days of a dustbuster you will love it too. And I want to add that I bought this with my own gift card and I’m not sponsored by Bissell. I just like their products. Other Posts About Products We Love! *Prices may have changed since we posted these.   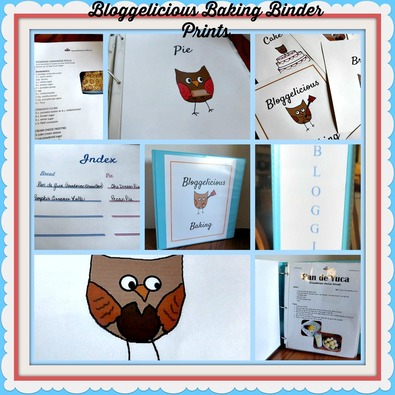 I find myself using this binder for online recipes more and more! I hate when I can't find a recipe that I used before, so I just print it and put it in my binder.
0 Comments
This post contains affiliate links. I will be compensated for purchases made through those links at no additional cost to you. All views expressed are my own. Thank you for your support! Taco Bell is one of my husband’s favorite places to eat. Yes, we know it’s not real Mexican food, and it is not the healthiest option, but that doesn’t change that’s it’s tasty! One of our favorite things to get there is the Crunchwrap. So we thought we’d try to make it at home. It seemed simple enough and it was! The result turned out delicious, simple, and had the potential to be healthier (that’s not the route we went with but it could be).  The CrunchwrapThe Crunchwrap is like a burrito but it’s layered and inside is a tostada shell, the wrap ends up having a disc shape. It then gets grilled to hold it shut. This actually makes it easy to eat and less messy. Making it at home is so easy, we’ll probably add it to our menu more often. Our kids love it too. Making the CrunchwrapI don’t know that I will put together a recipe in the same way I usually do but, I’ll tell you about each layer and different possibilities I’ve imagined for them. I also made a video that shows the process. Check it out below and on Youtube. (Did you know we have a YouTube channel?) 1. Large flour tortilla- you really want a large tortilla for the base because it needs to be able to fold up around the top of the Crunchwrap to secure everything in place. 2. Main protein- we used cooked ground beef, but I imagine beans (refried or otherwise) would be delicious too! I can also see a breakfast version with egg or potato. You’ll want to spread it into a circular shape that will fit underneath the tostada shell. 3. Nacho Cheese- I love the Fritos Jalepeño Cheddar dip. My tip is to spread this on the bottom of the tostada, rather than try to put it on the meat directly. This cheese is too spicy for our kids so we just used regular shredded cheese for them on this layer. I can also see guacamole being delicious right here. 4. Tostada Shell- this is where the crunch comes from for the Crunchwrap. 5. Sour cream- again spread this onto the top of the tostada shelf. This is another layer that would be delicious as guacamole. This is also a great place to add hot sauce! 6. Vegetables and herbs- Lettuce, diced tomatoes, onion, cilantro, diced peppers. Take or leave whatever veggies you wish. 7. Shredded Cheese- a final layer of shredded cheese is added. 8. A small circle of flour tortilla- this may not be needed if your base tortilla is large enough to completely close over the top. Mine weren’t, so this circle helped to keep things secure in my Crunchwrap as I “grilled” it.  To fold the wrap take the bottom tortilla and fold it over the top. Pleat it around the edge until the whole tortilla is up around the edge.
Carefully place it plated side down on a hot pan or griddle over medium to medium high heat. Let it cook about 3-5 minutes until it’s browned. Flip and repeat. Now your Crunchwrap is ready to enjoy. I’d love to know if you make it and what variations you try! Let us know in the comments below. This post contains affiliate links. I will be compensated for purchases made through those links at no additional cost to you. All views expressed are my own. Thanks for your support! Are you intimidated by pie, specifically the crust? I think the crust is the scariest part of the pie for many people. But it doesn’t have to be. We have a few resources to help you with your pie making skills such as numerous blog posts and , of course, our pie recipe book “For the Love of Pie.” Today I present you with a recipe that will help you get you comfortable with the crust; Vanilla Apple Galette. To make this you will want our pie crust recipe! 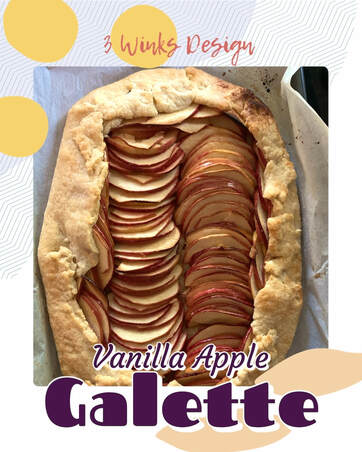 Vanilla Apple GaletteA galette is a rustic, free-form pie. It is also delicious. It’s also a great last minute dessert (for instance if you find out an hour or two before you have to leave for dinner that you’re bringing dessert). I had everything I needed for this recipe in my pantry already. The prep from start to finish was probably 15-20 minutes and that includes making the crust, coring, and slicing the apples. Even arranging them in an appealing way didn’t take too long. This is a deceptively simple recipe that makes you look like a master baker and will help you get the hang of pie crust. Because the pie is free-form it’s ok to have raggedy edges and cracks around the edge of your crust. There more you make galettes the more you will get the feel of how pie crust works and likes to be handled. 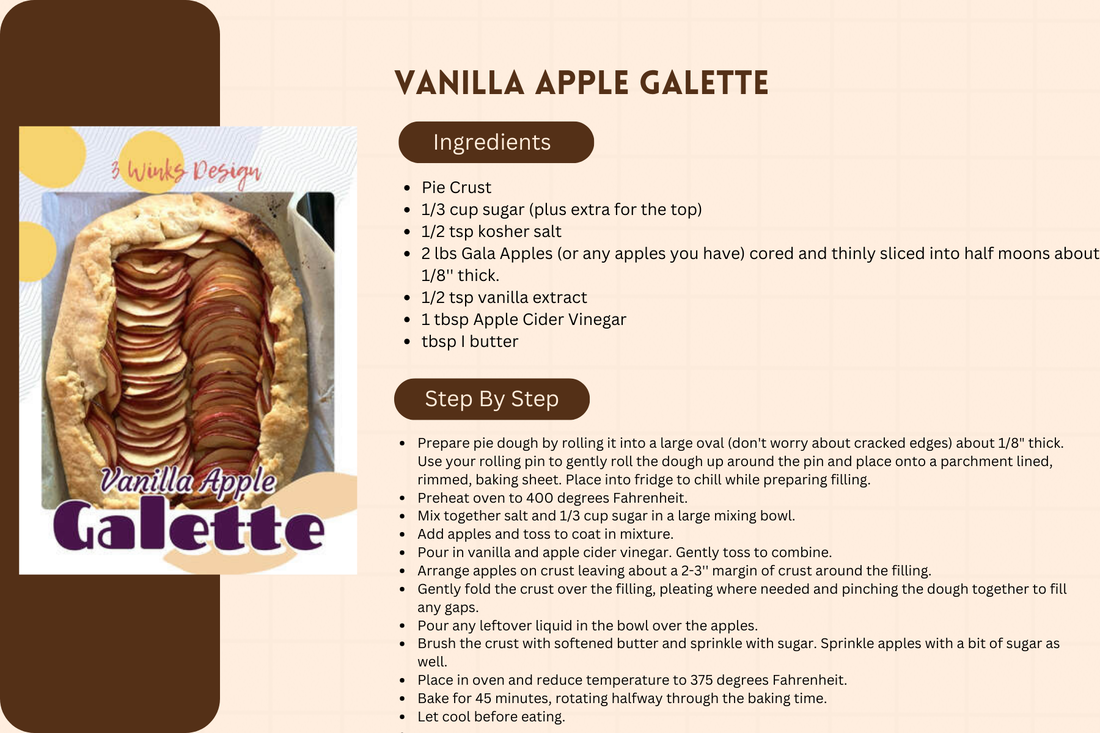 Let us know how your galette turns out!
This post contains affiliate links. I will be compensated for purchases made through those links at no additional cost to you. All views expressed are my own. Thank you for your support!

I have another printable for you today!
This one was inspired by a young woman I teach at church. This past Sunday was her birthday and all of us in her class wanted to do something for her to help her feel special even though she couldn’t go out anywhere. I was going to make her cookies, but then I found out two of the other girls in our class each made her a cake! So I wanted to give her something she could do later after the cake is gone. I had stuff for s’mores so I decided that was perfect. Plus everything was packaged so if she wanted to sanitize stuff it would be easy to do. 
To go with the s’mores kit I decided to design this card. I thought you might like to use it too! This one is social distancing specific but I have another version on our subscriber printable page that would be great to send to loved ones you can’t be with on their birthday at any time So be sure to subscribe below to get access to that and many of our other great printables!
And in case you’re wondering, she told me the gift was perfect because she had been wanting s’mores for weeks! You can never go wrong with s’mores.
Who will you be sending a s'mores care package to with your free printable card? Let us know in the comments below!
|
Creators of Hot Cocoa Bombs! (copyrighted)

Author
Helen Reynolds: Mother of six children , grandmother to eleven! I love to cook, craft and create things and I especially love doing that with my family, So, when my lawyer daughter, Lindsey, my artist daughter, Madalynn, and I came up with the idea of Hot Cocoa Bombs, this blog was born. Then, one more daughter, with her technical and science skills, plus creativity has joined in to round us out! Read more about us here! 
Click this link and visit 3WinksDesignShop on Etsy. Find our Hot Cocoa Bomb Idea Book, our For the Love of PIe e-book and more of our creations!

Amazon Gift Cards are the Perfect Gift!
    Archives
July 2024
|
 RSS Feed